I love shopping at the Dollar Tree store all year round but I especially love it during the holidays.
I can get great gifts there for my kids friends and make fun crafts and centerpieces like the one I’m going to show you today. I can always find great teacher gifts, gifts for neighbors and gifts for the mailman at Dollar Tree. And when my son has a dollar and some change he asks “Can we go to the dollar store!!??” every day until I give in. Needless to say we are in there about every week looking for treasures.
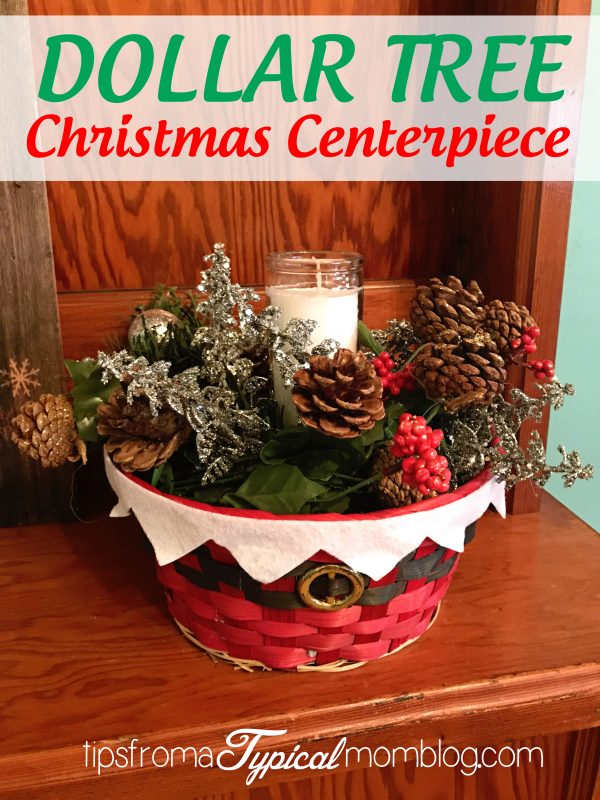
The cute centerpiece I’m going to show you how to make today only cost me about $8.
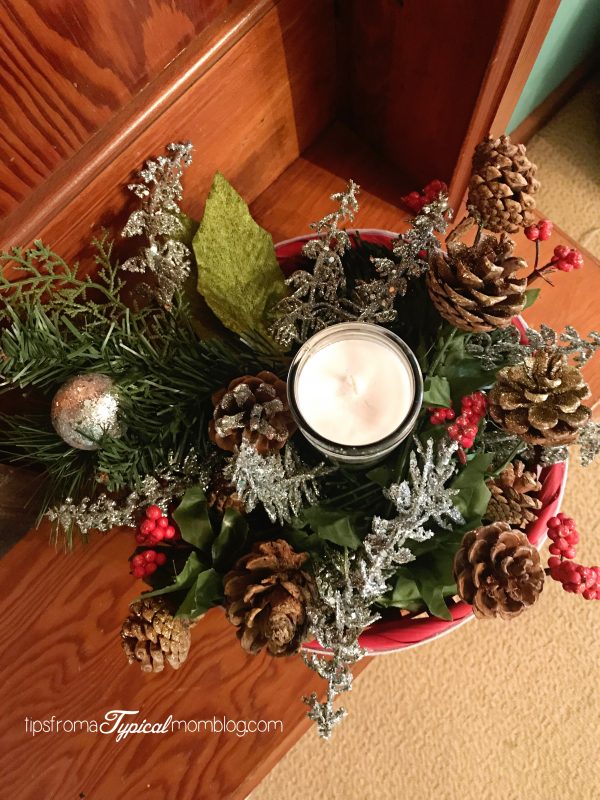
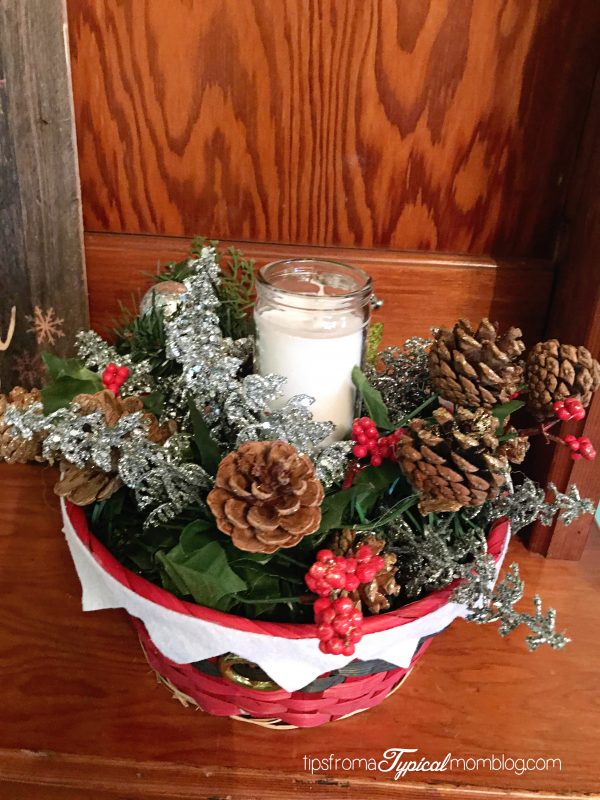
I think its adorable! It’s perfect for my dining room table or even and end table since it’s small enough. It literally took me 10 minutes to make it which was the right amount of time when it’s the busy Christmas Season. I love to make crafts for my home so I can customize the colors used to match my decor. It’s more fun that way for sure.
Let’s get going and make a cute Dollar Tree Christmas Table Centerpiece!
What you’ll need:
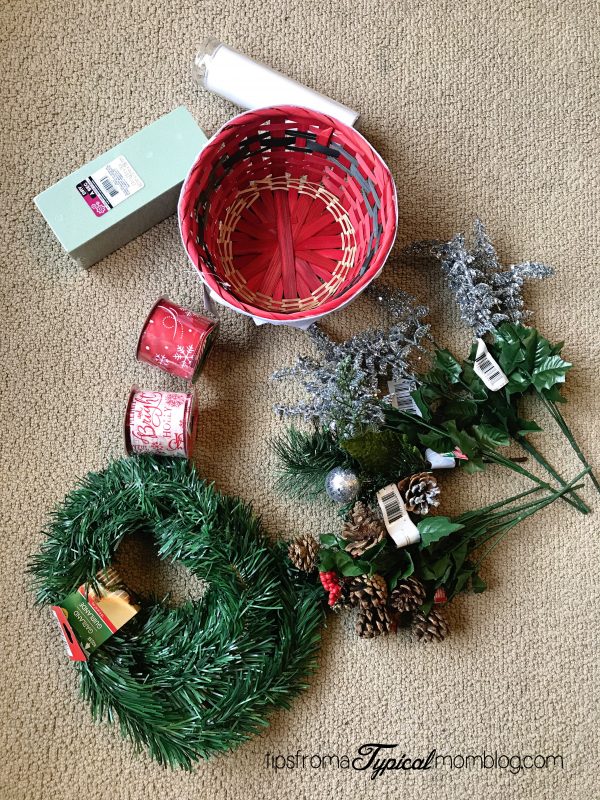
- 1 basket found at Dollar Tree or one that you find laying around your house. (you can even use a small wooden crate)
- Floral Foam (enough to fill the bottom of the container)
- 1 White Pillar Candle that is pretty skinny (the one I found at Dollar Tree is in a glass container)
- 1 Dollar Tree Garland that is thin and easily bendable
- At least 4 Dollar Tree Seasonal Floral Picks
- Optional: ribbon to tie around the basket or box
- Wire cutters
Directions:
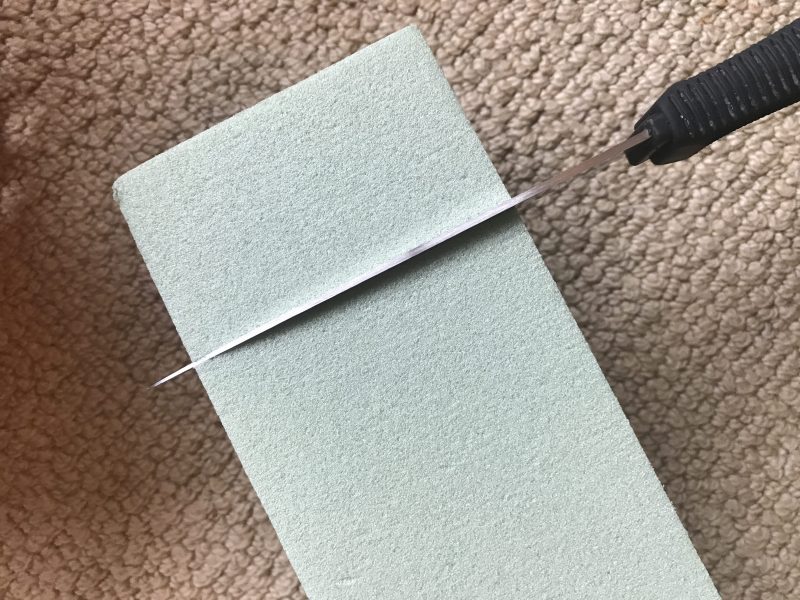
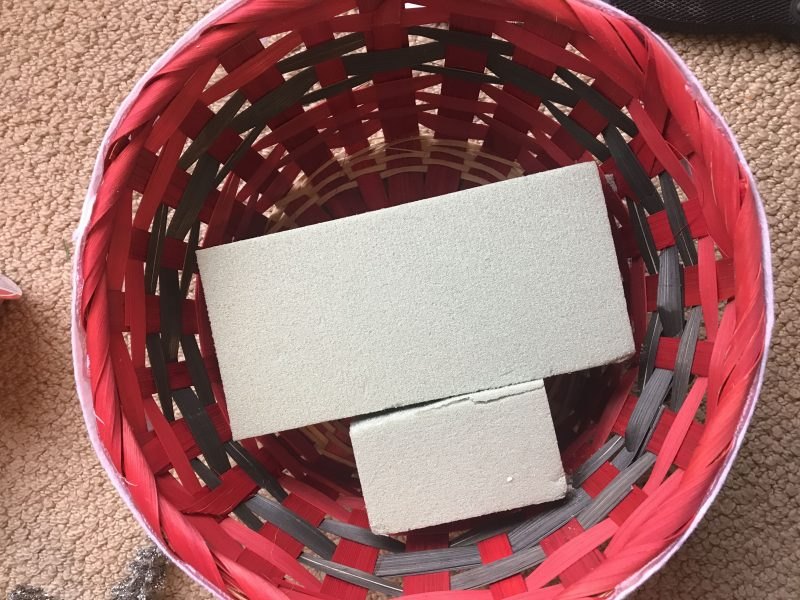
1. Cut the foam to fit inside the container you have chosen leaving a hole where the candle will fit. I just use a steak knife to cut my floral foam.

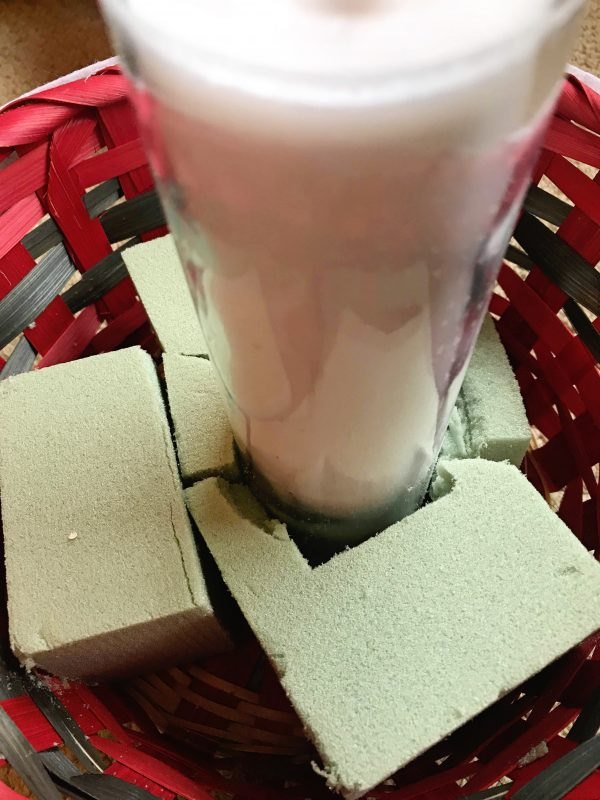
2. Secure the candle in the middle of the foam.
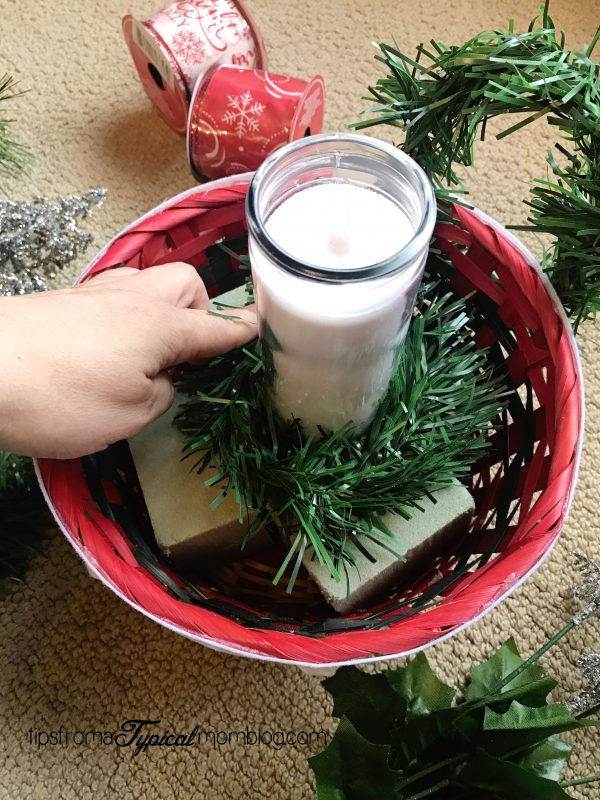
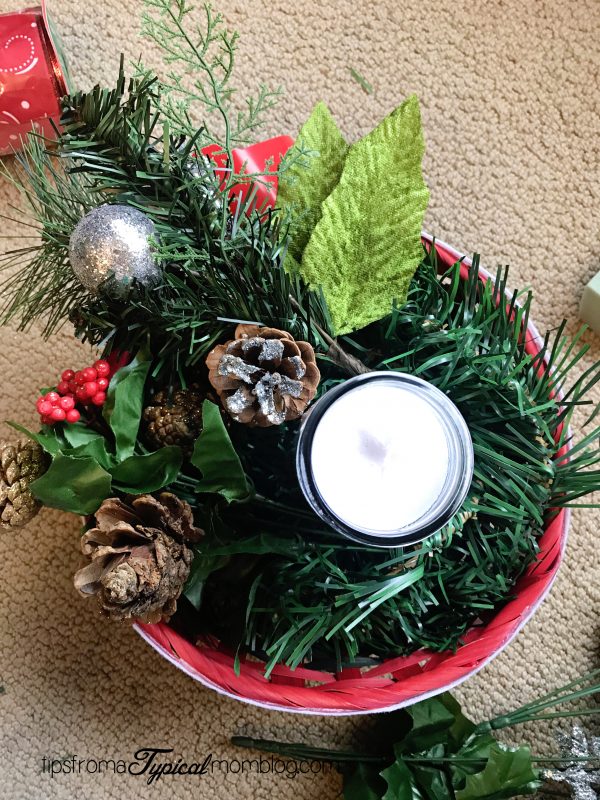
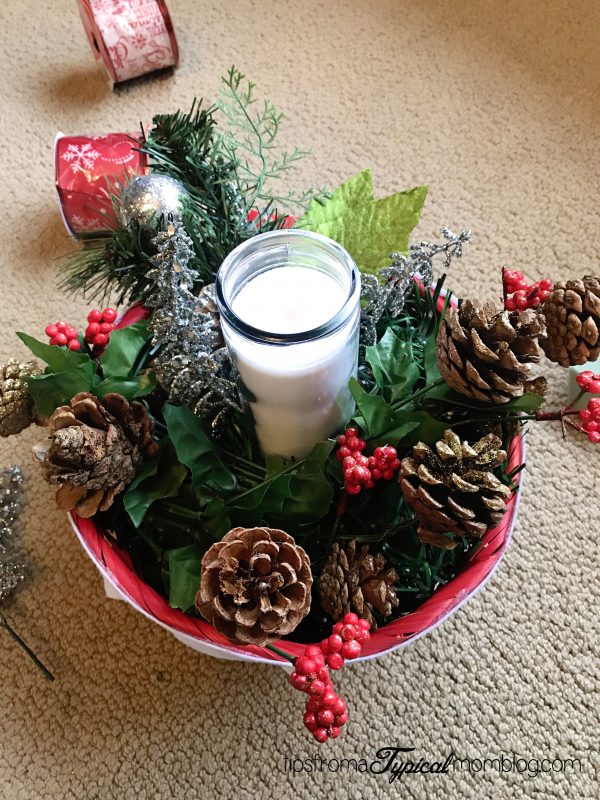
3. Start wrapping the garland around the candle and slowly work your way out, hiding the floral foam as you go.
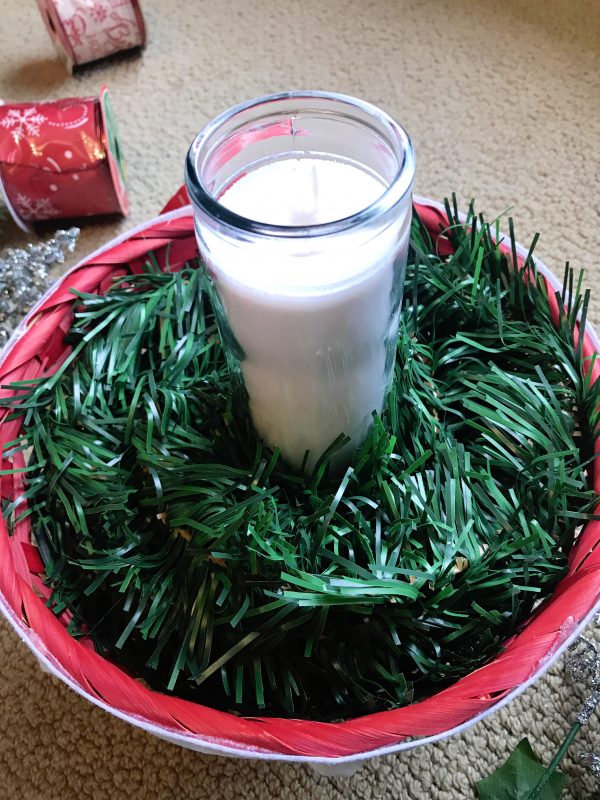
4. Cut the garland with wire cutters once you’ve got enough in there to cover the foam. Discard the rest or use it for a different project.
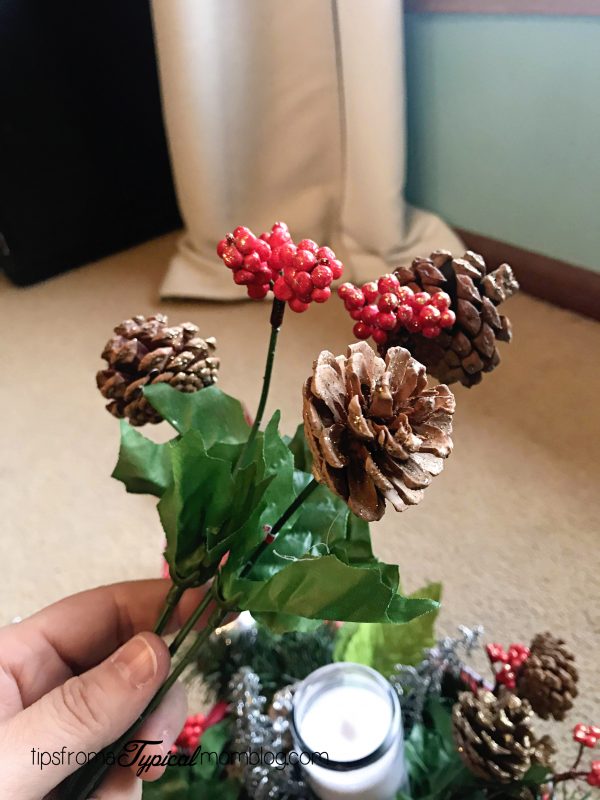
5. Take one of your floral picks and bend the bottom part down so it can be stuck in the floral foam.

6. Position it where it looks good and stick it in the foam.
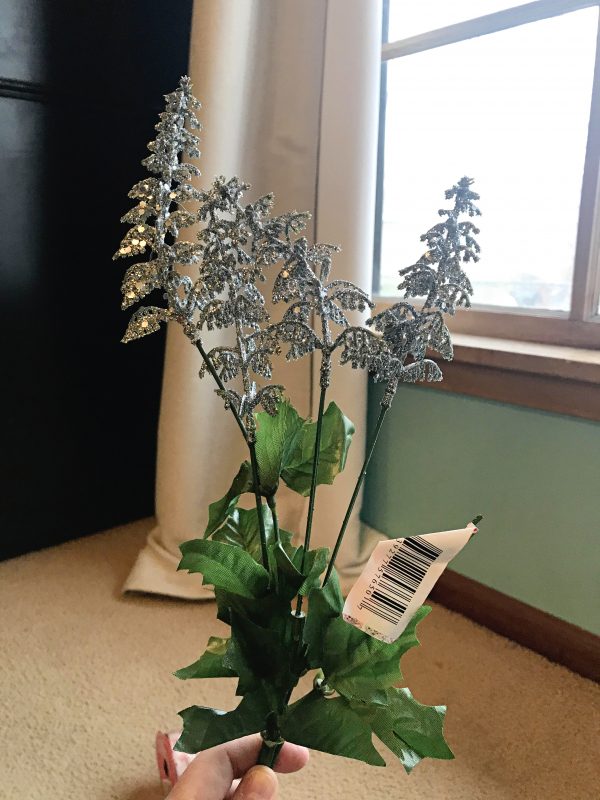
7. I loved this glittery floral pick but I want them to be spread out in the arrangement so I cut them apart with my wire cutters.
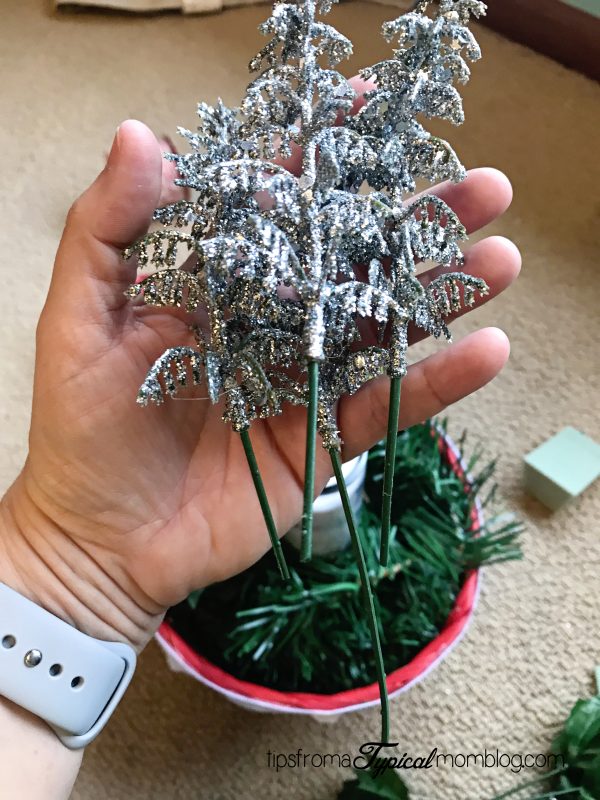
8. Here you can see a few of the silver picks in there.
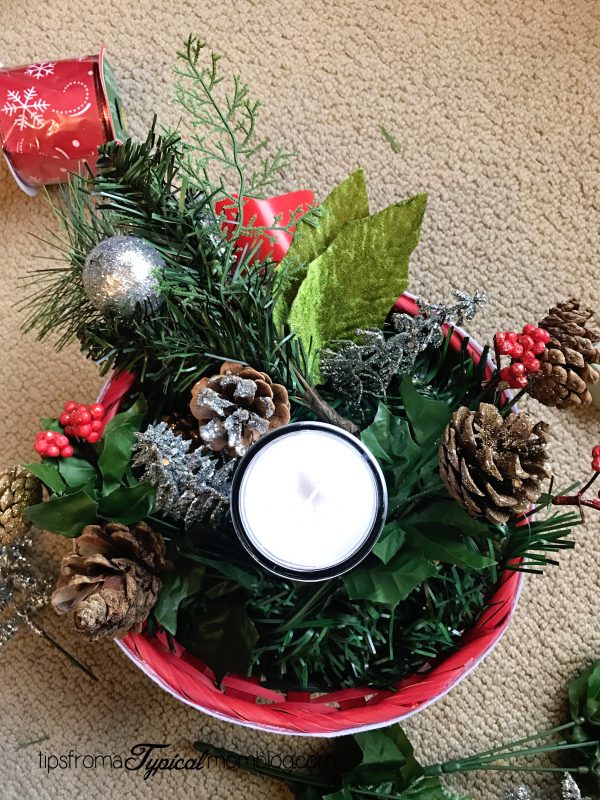
9. This pick needed some help so I spread it out until I liked the way it looked and bent the bottom under and stuck it in the arrangement.
10. Then stick in some more of the silver picks.

11. If your basket or container needs it, tie on a bow with the decorative ribbon. Mine didn’t need it so I left it off.

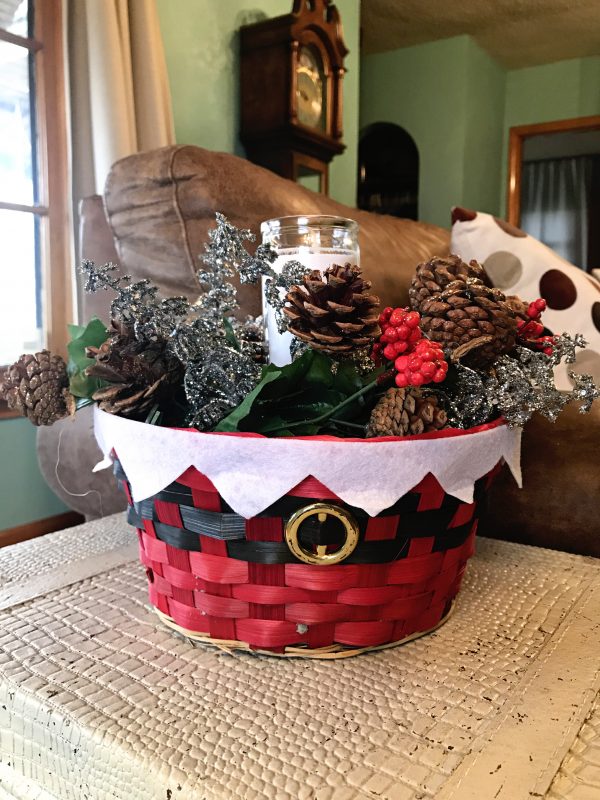
Now you’re done! It’s so cute! And it was so easy. I took me about 10 minutes.





Very helpful, thanks for sharing! 😊