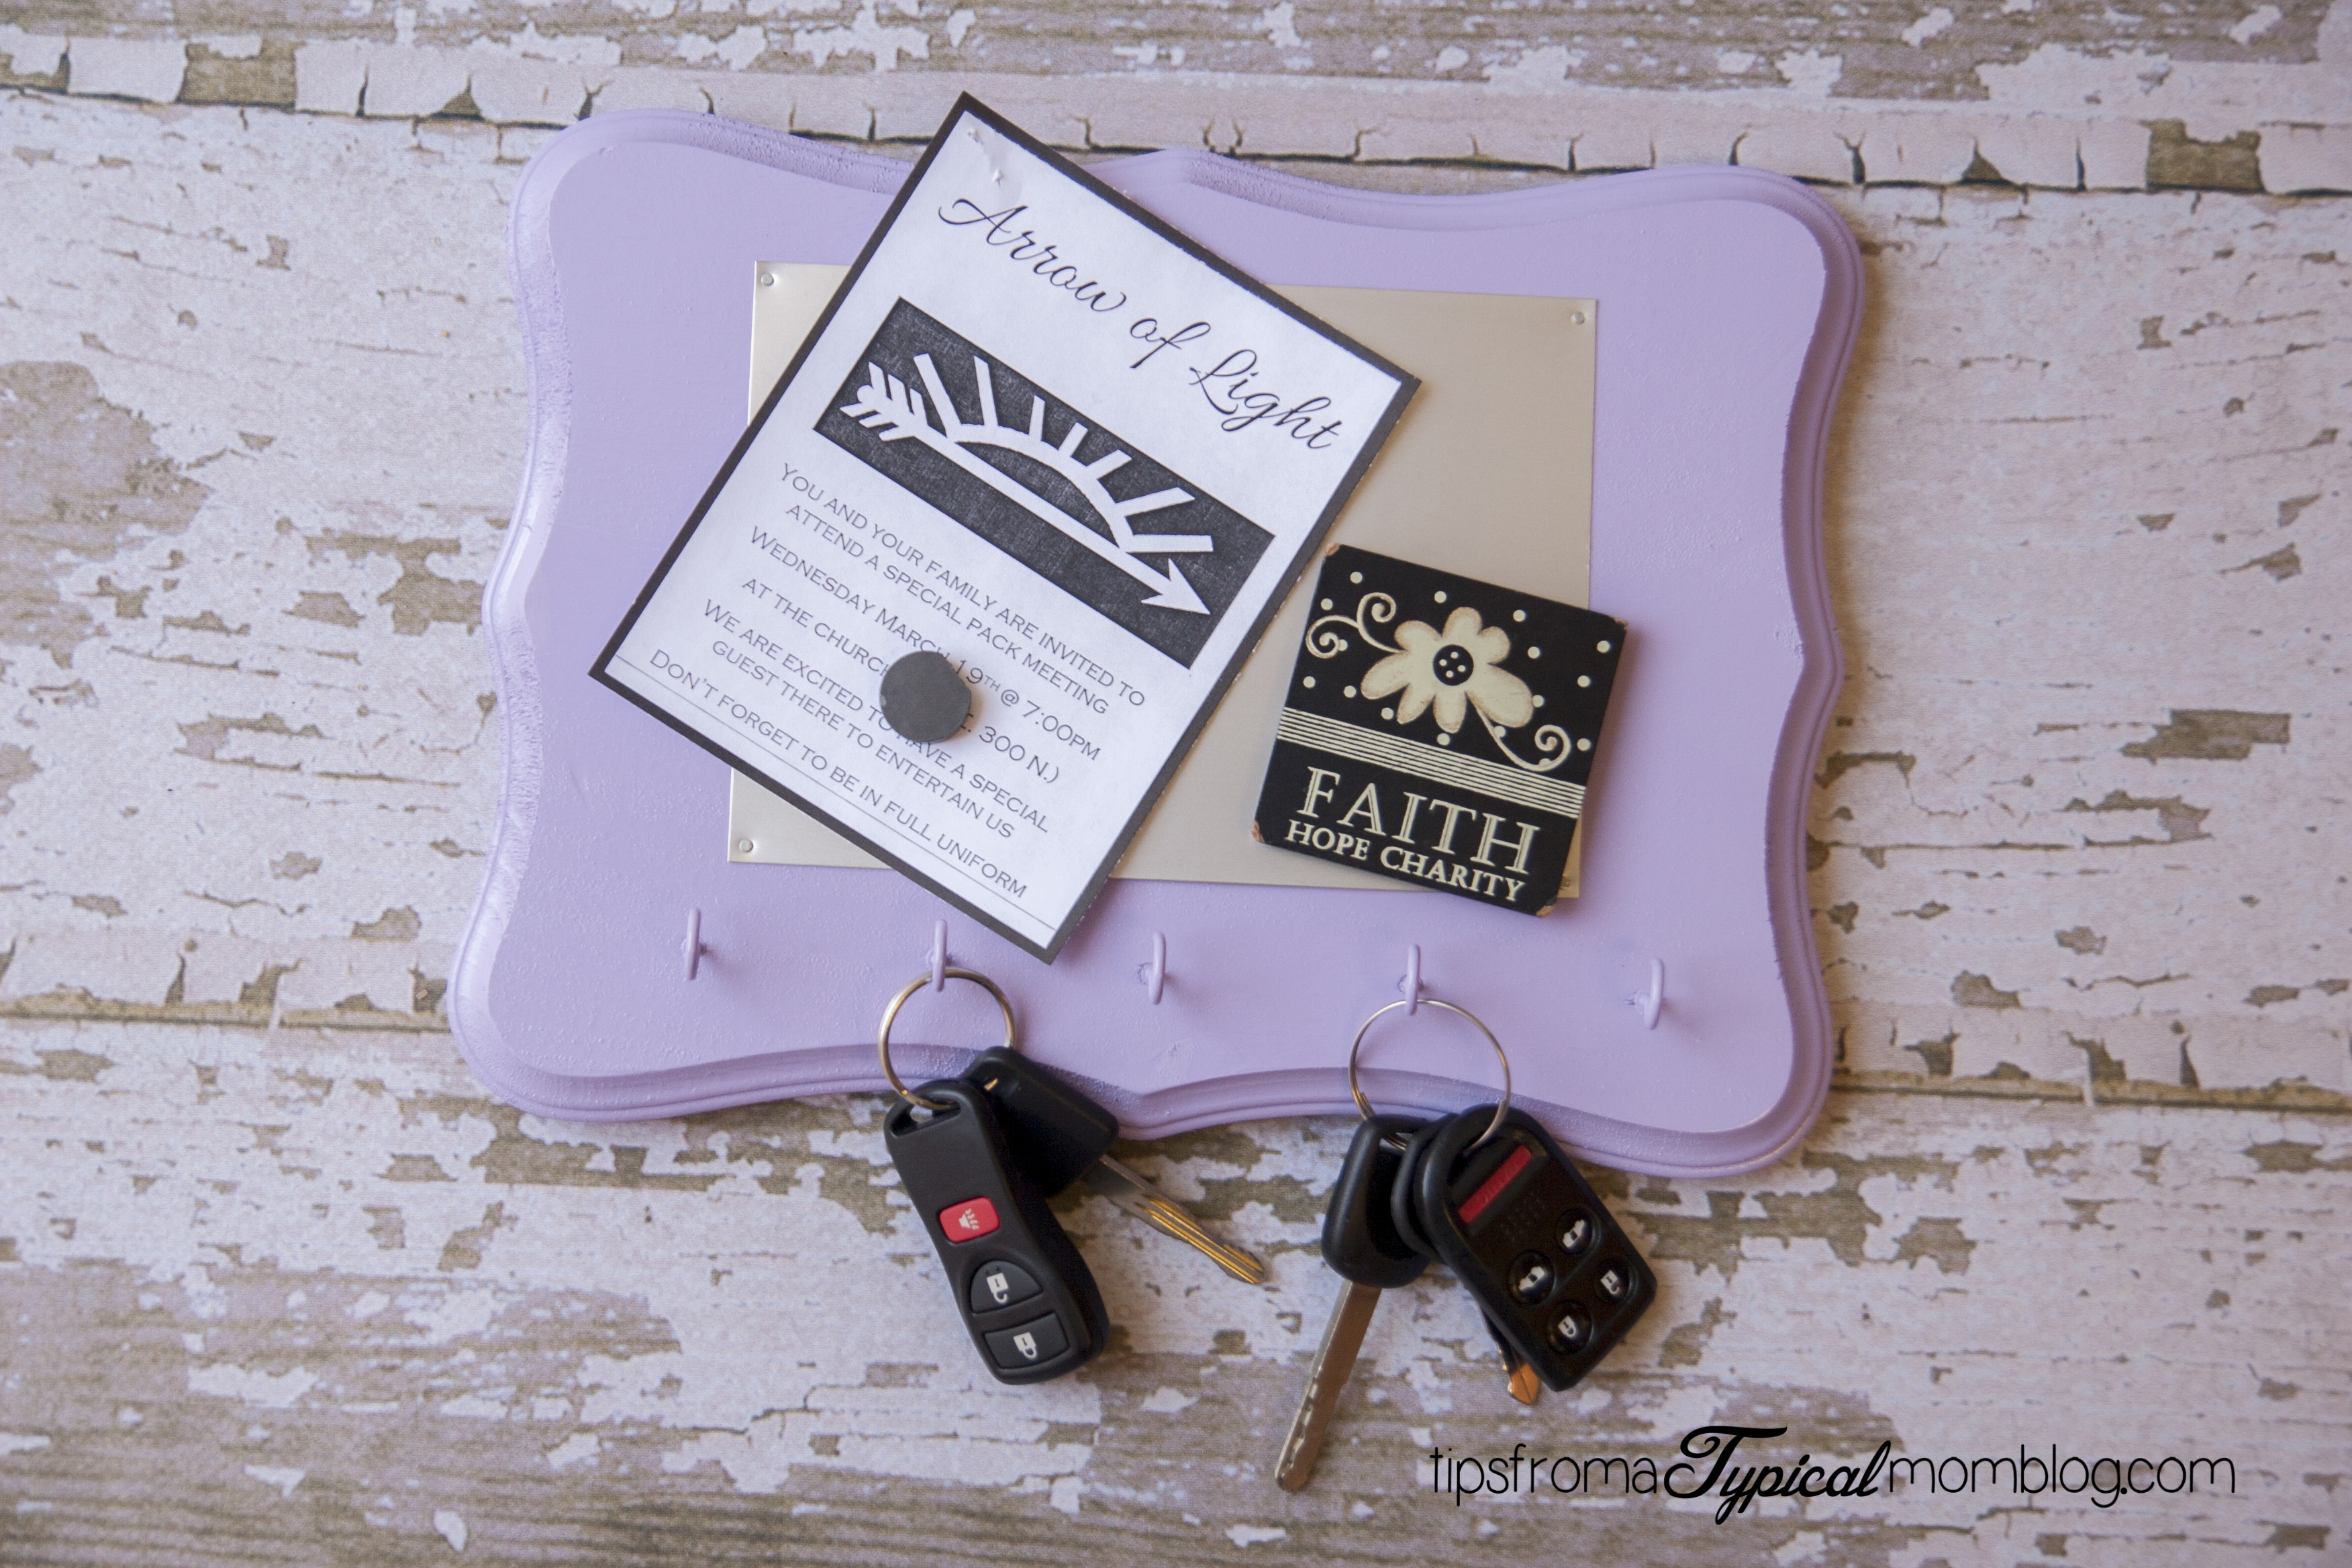
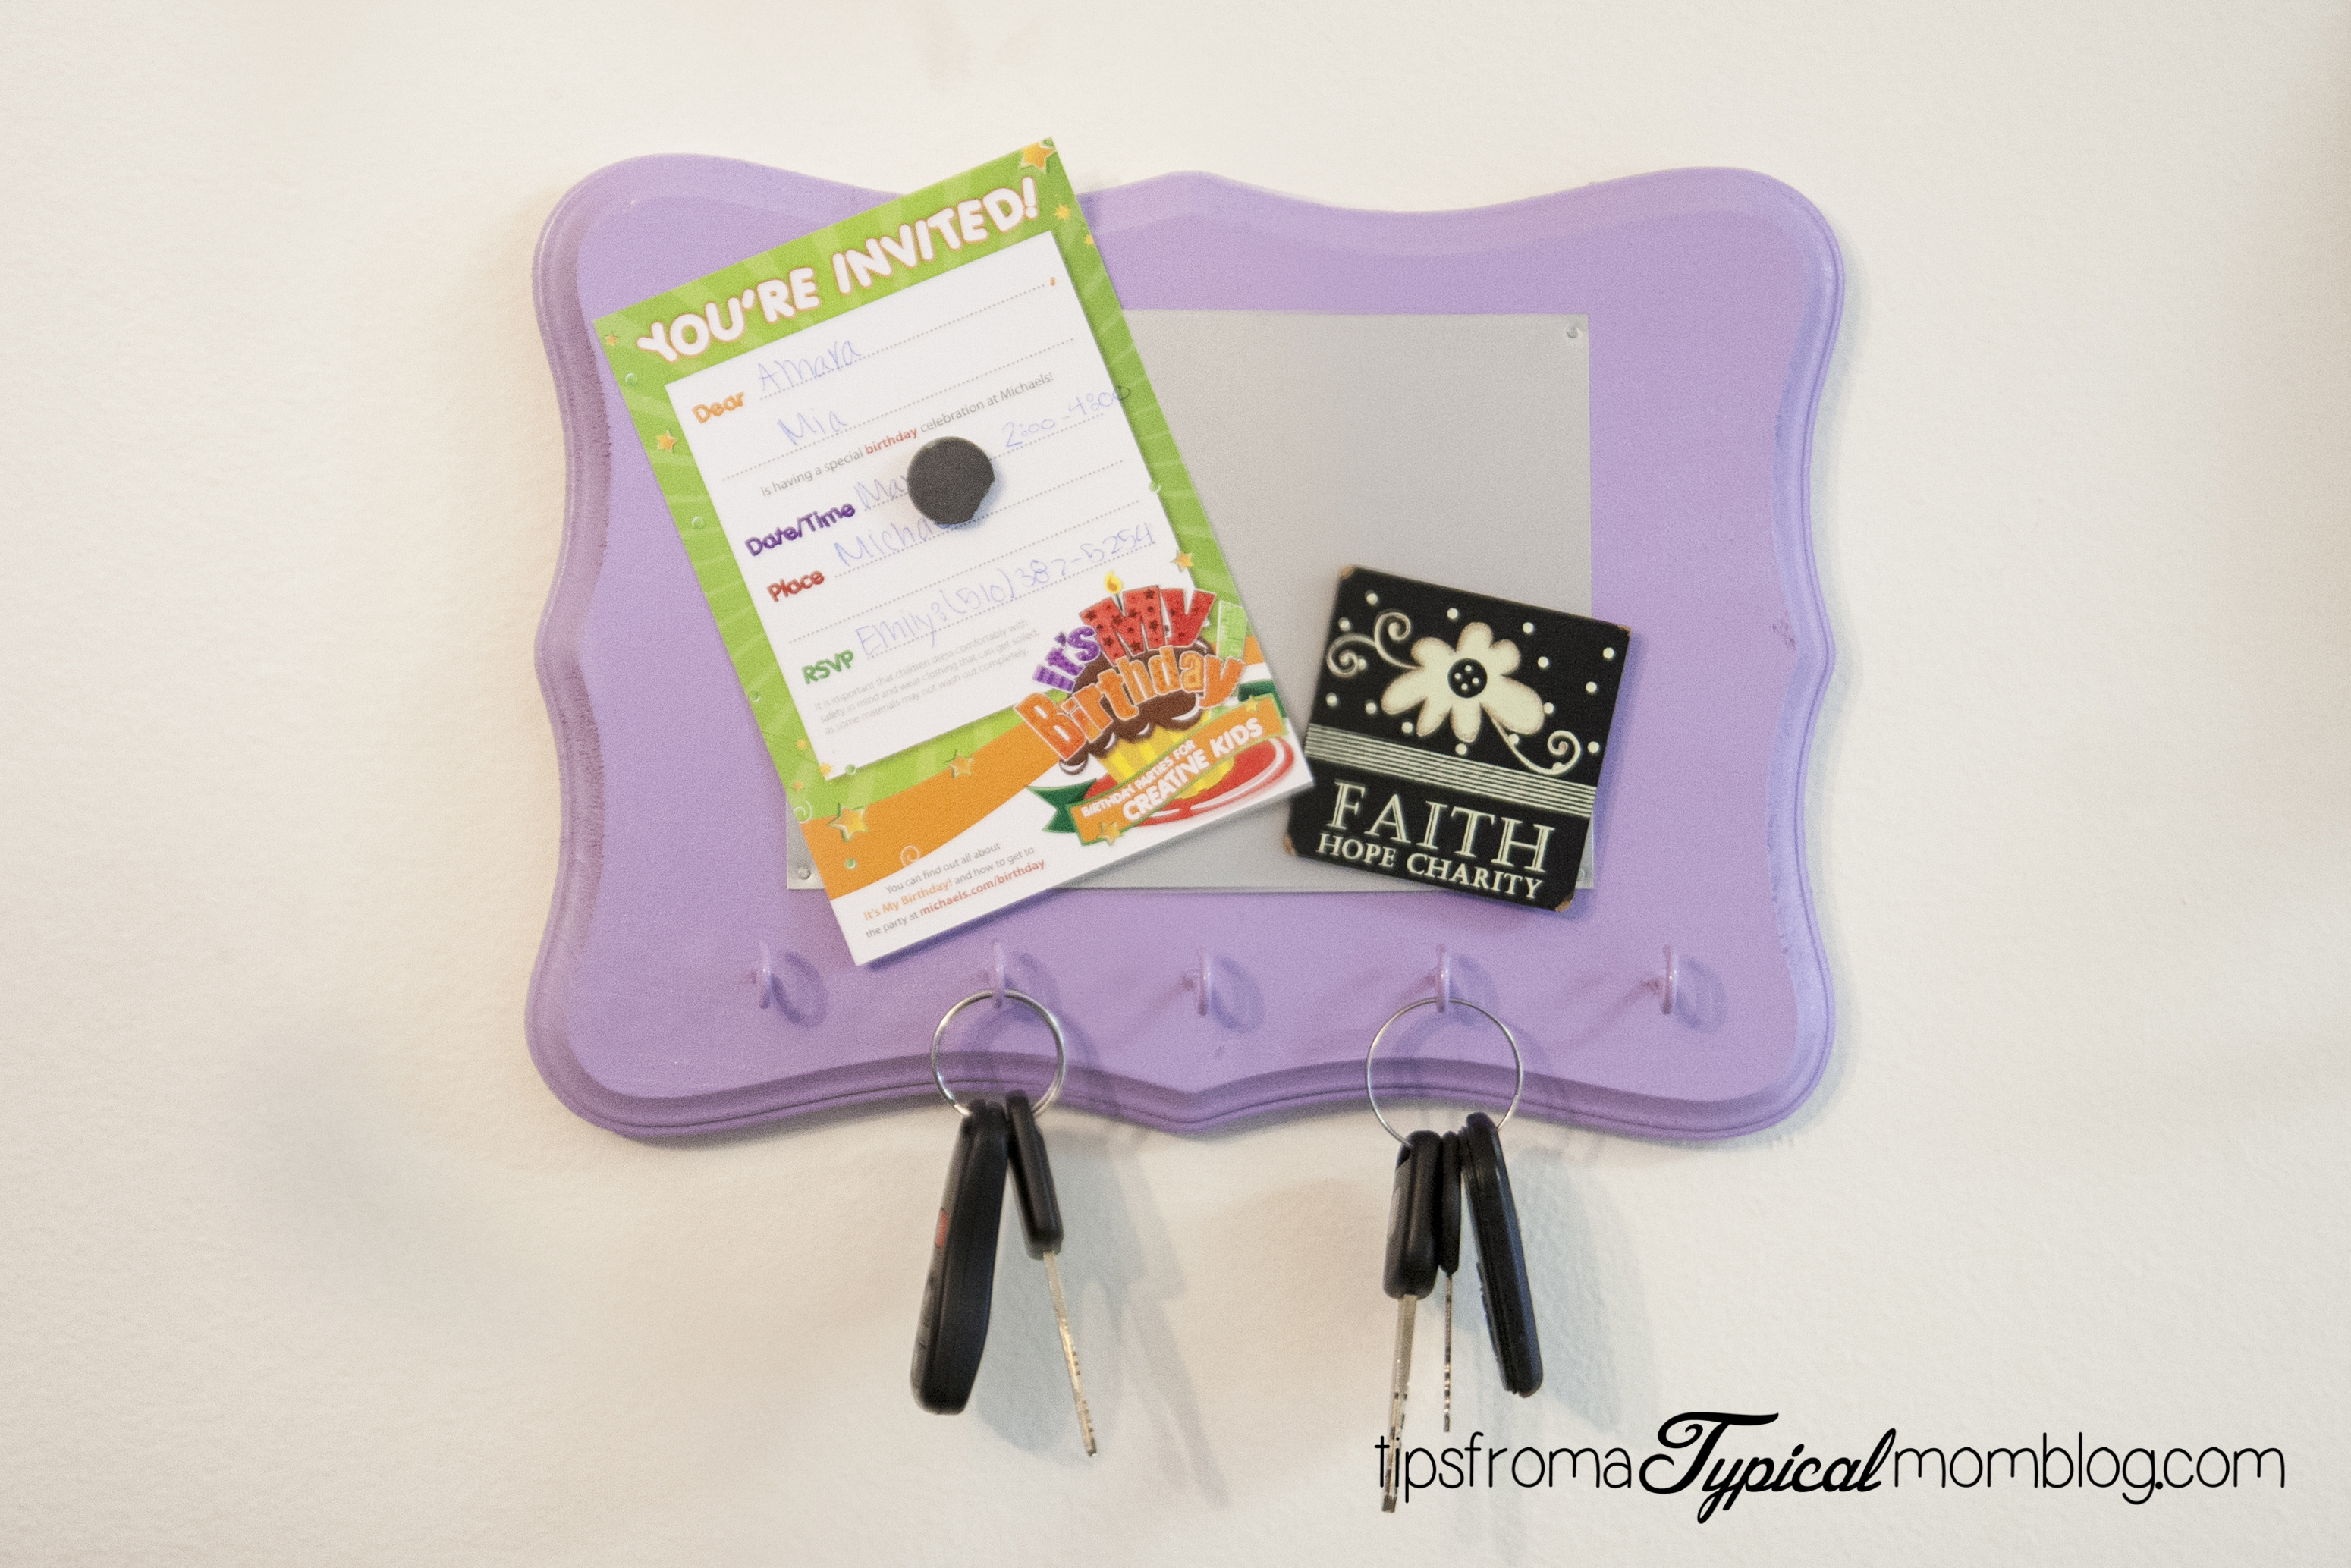
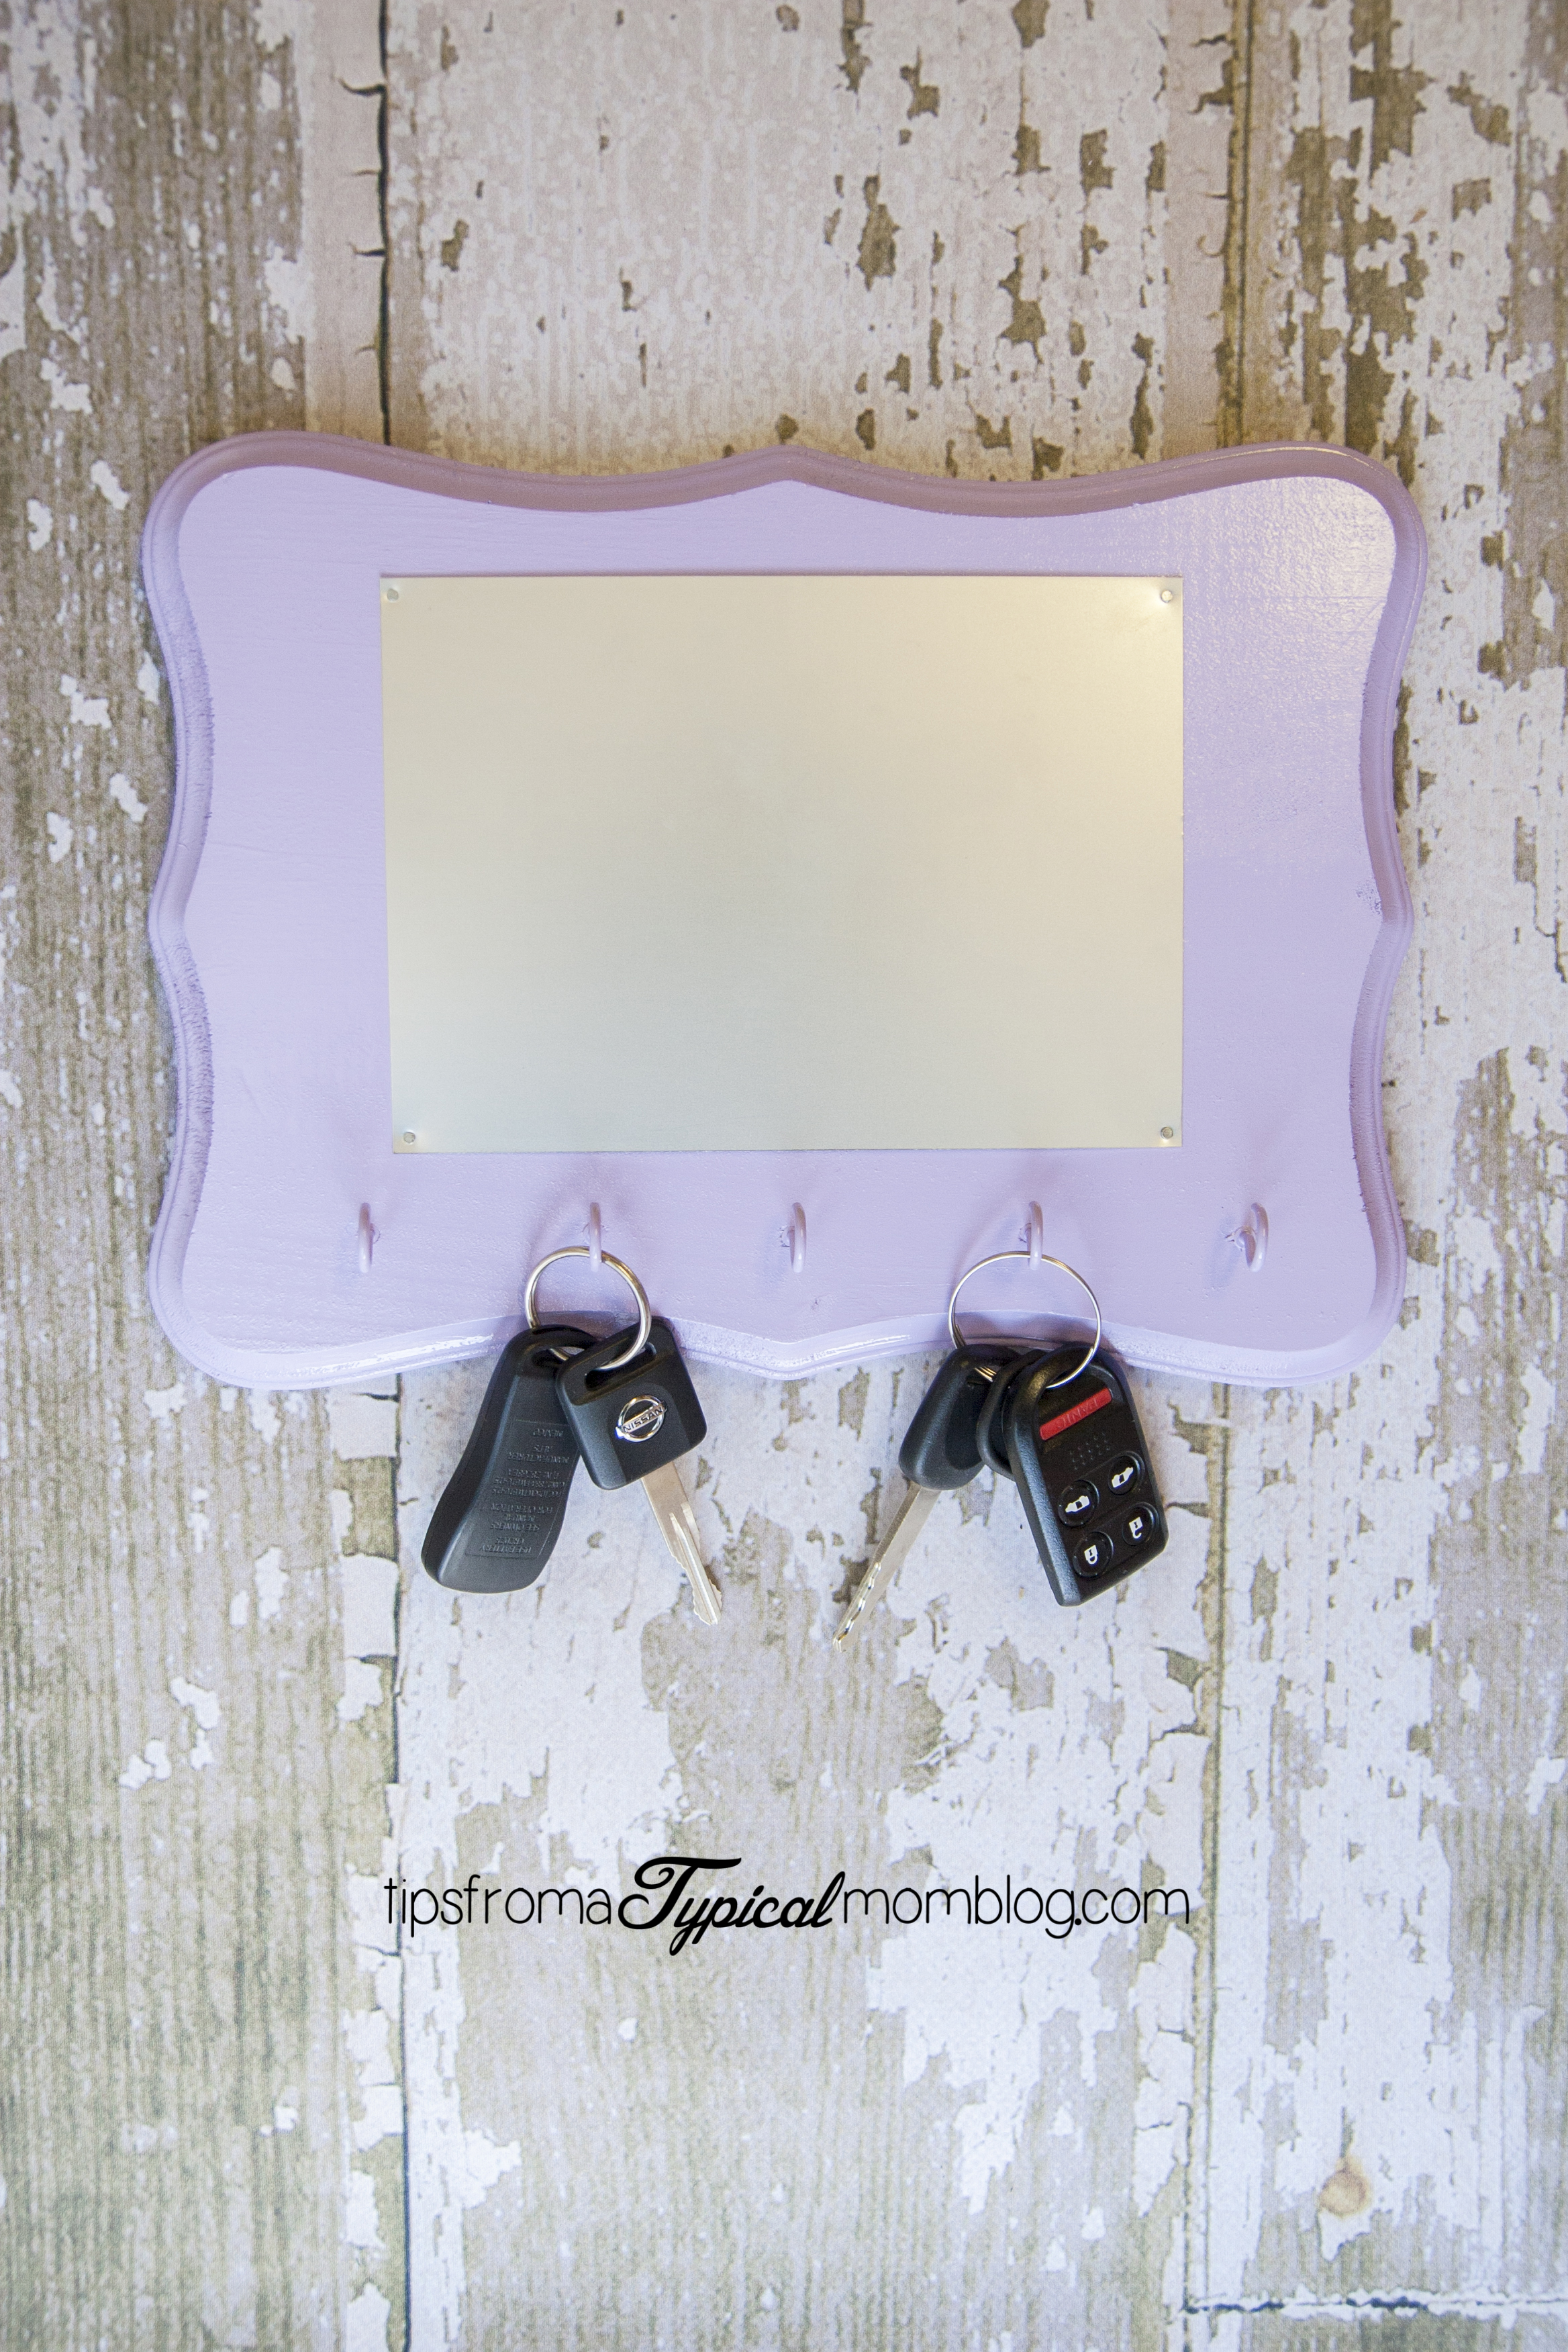
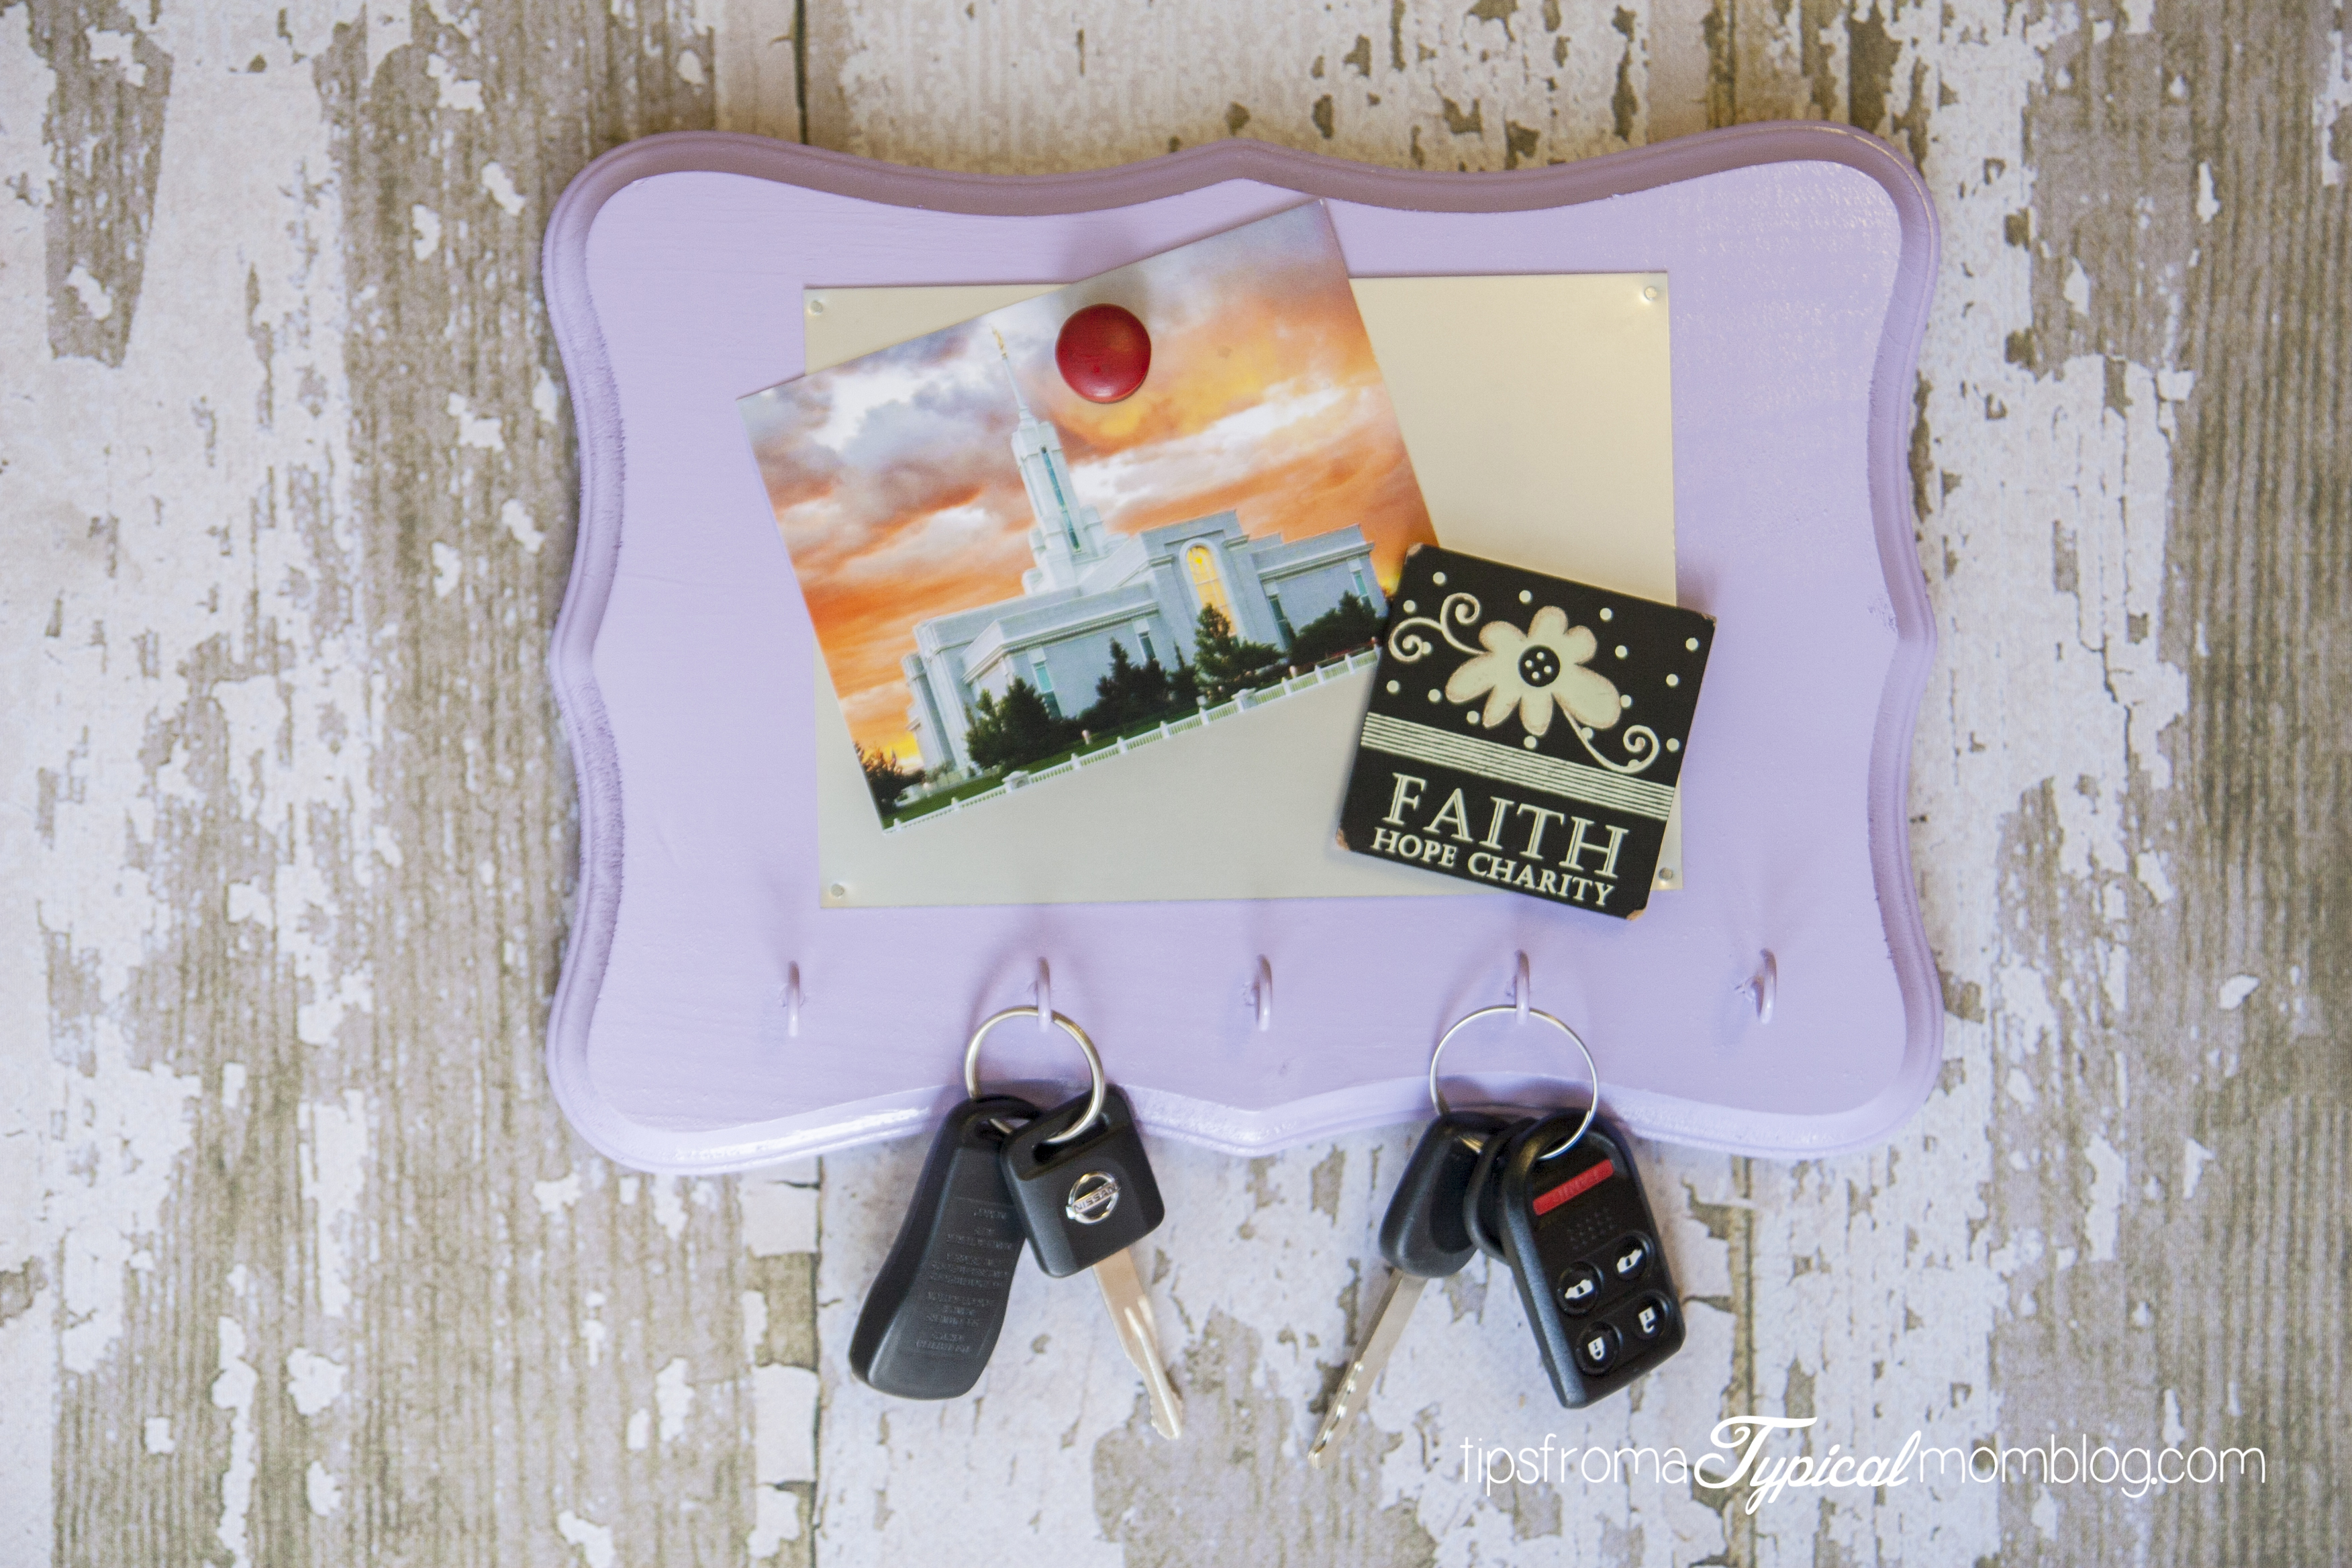
I love something that is cute and functional at the same time. My wall space is valuable, so you better be a multitasker if you’re gonna take up valuable real estate on my walls! That’s why I love this DIY magnetic key holder shaped board. And guess what? It only cost me about $10! Yahoo!
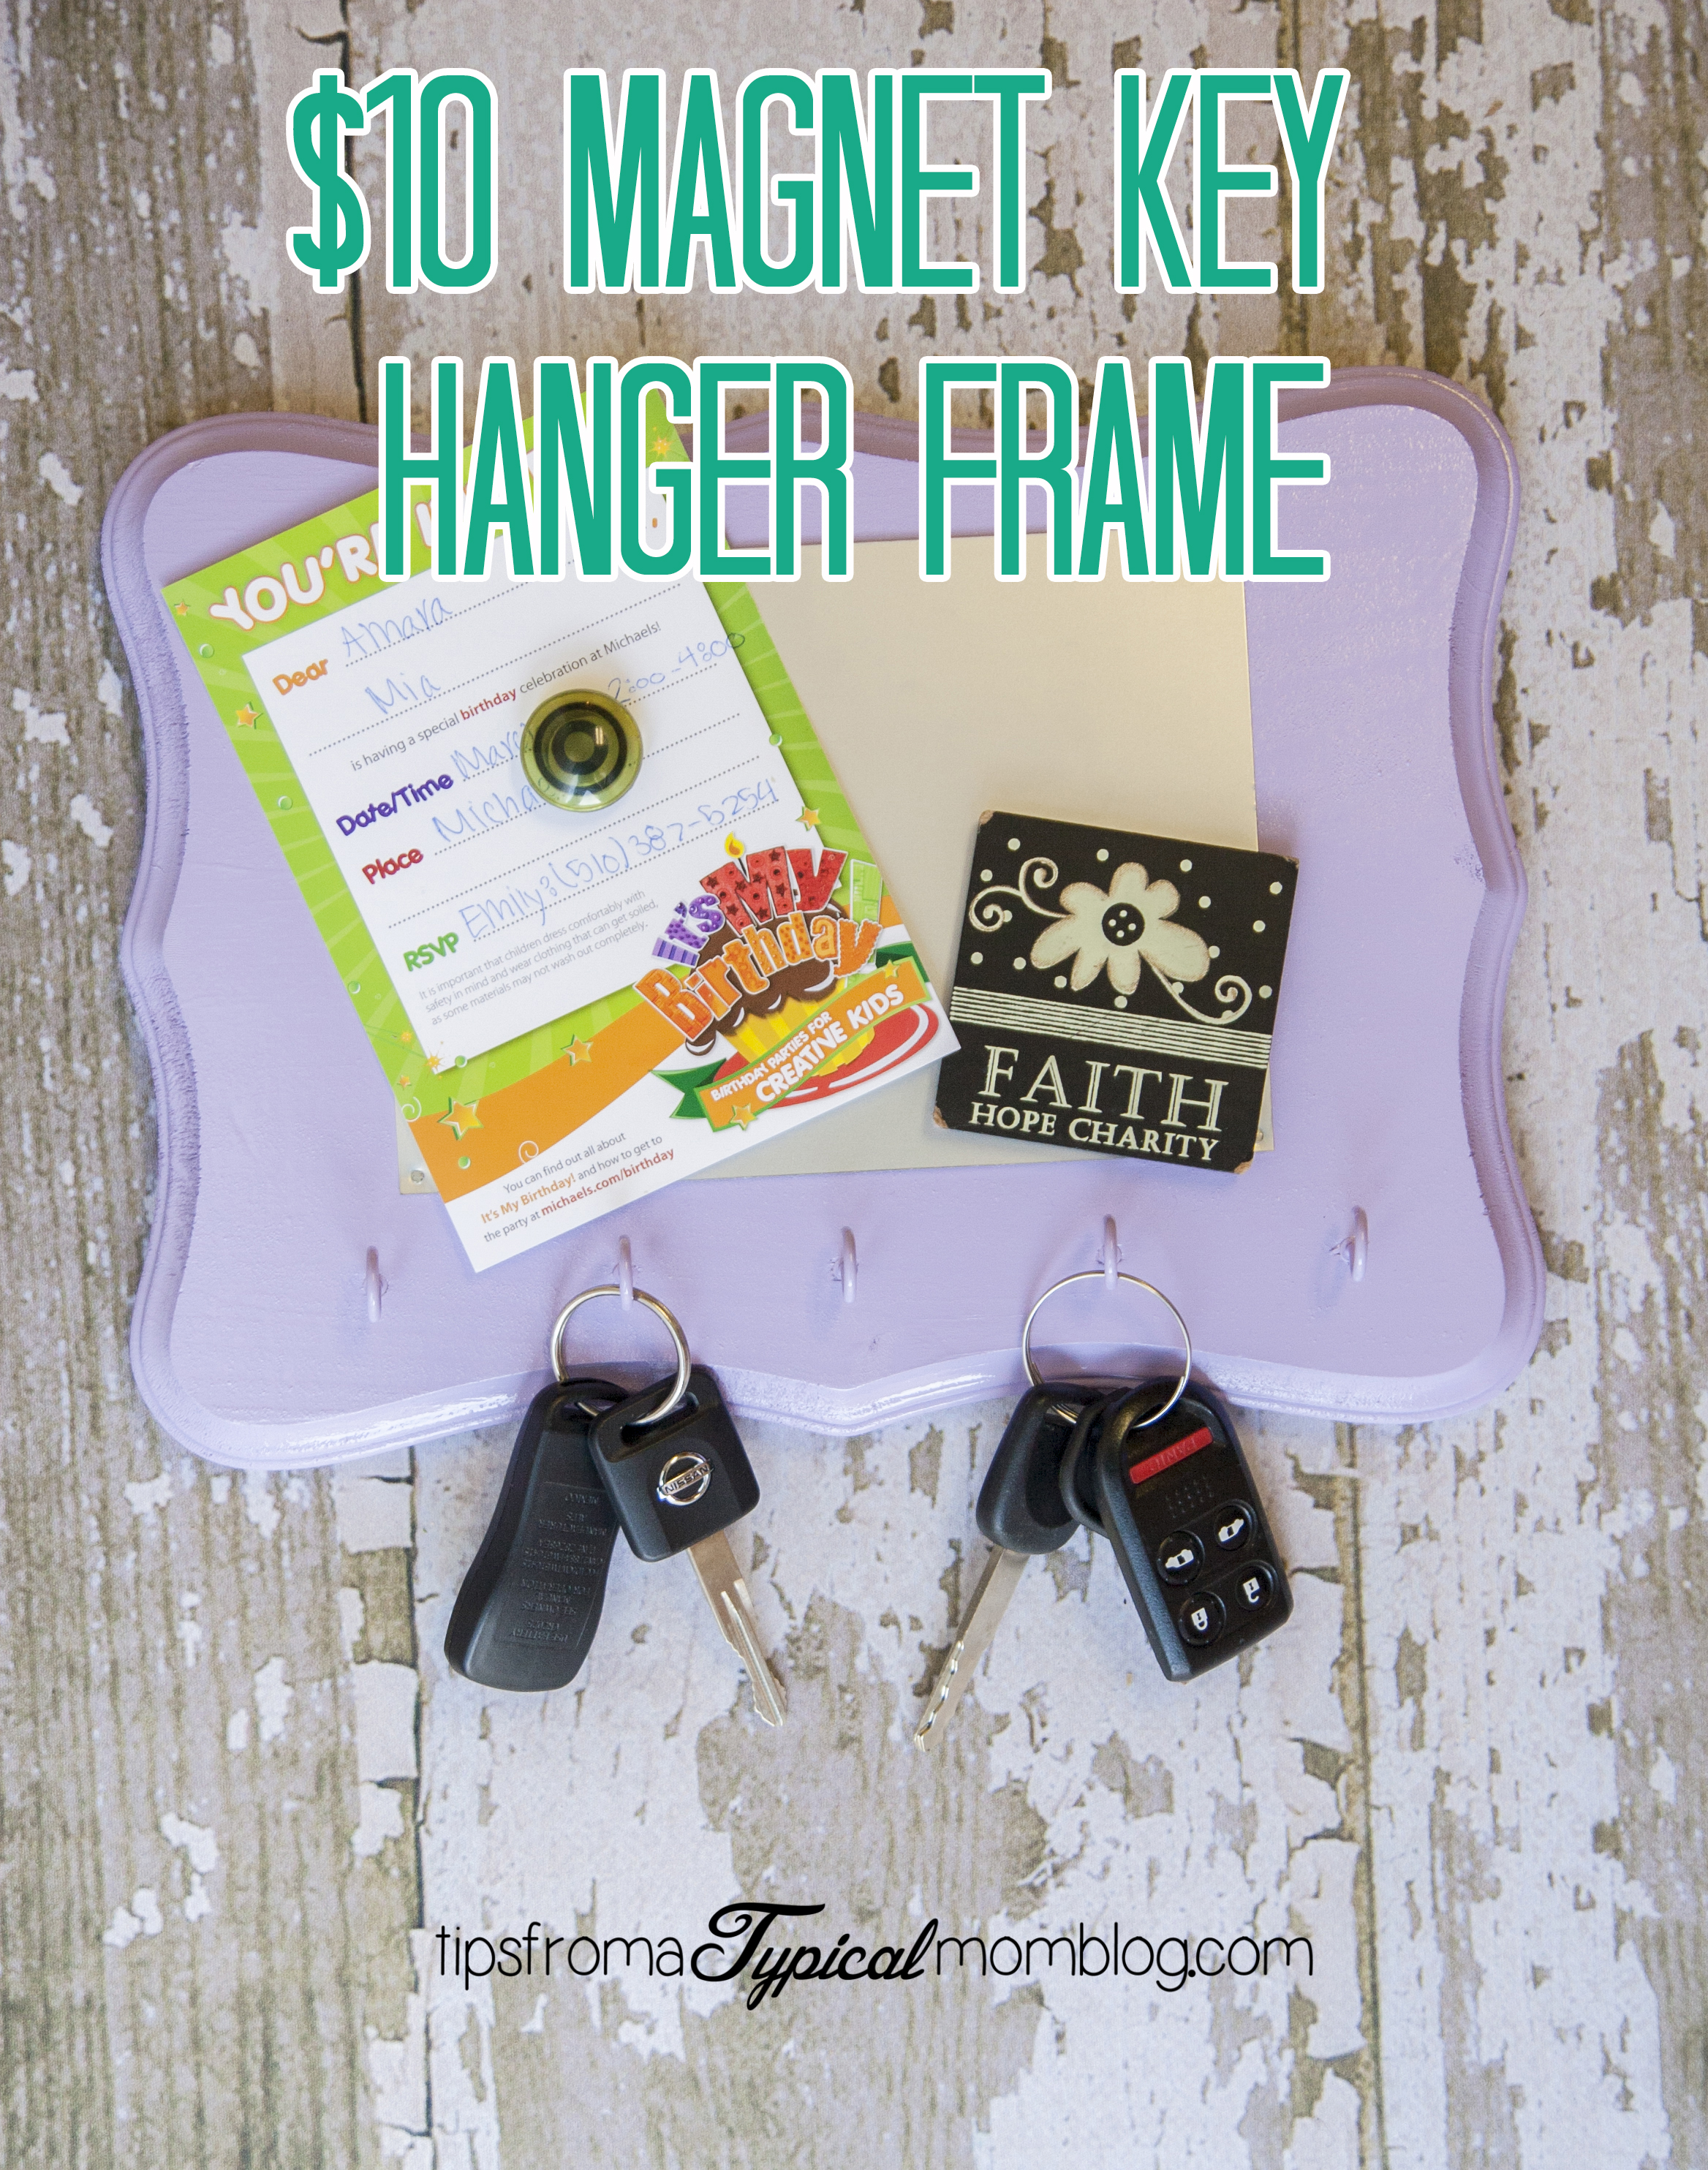
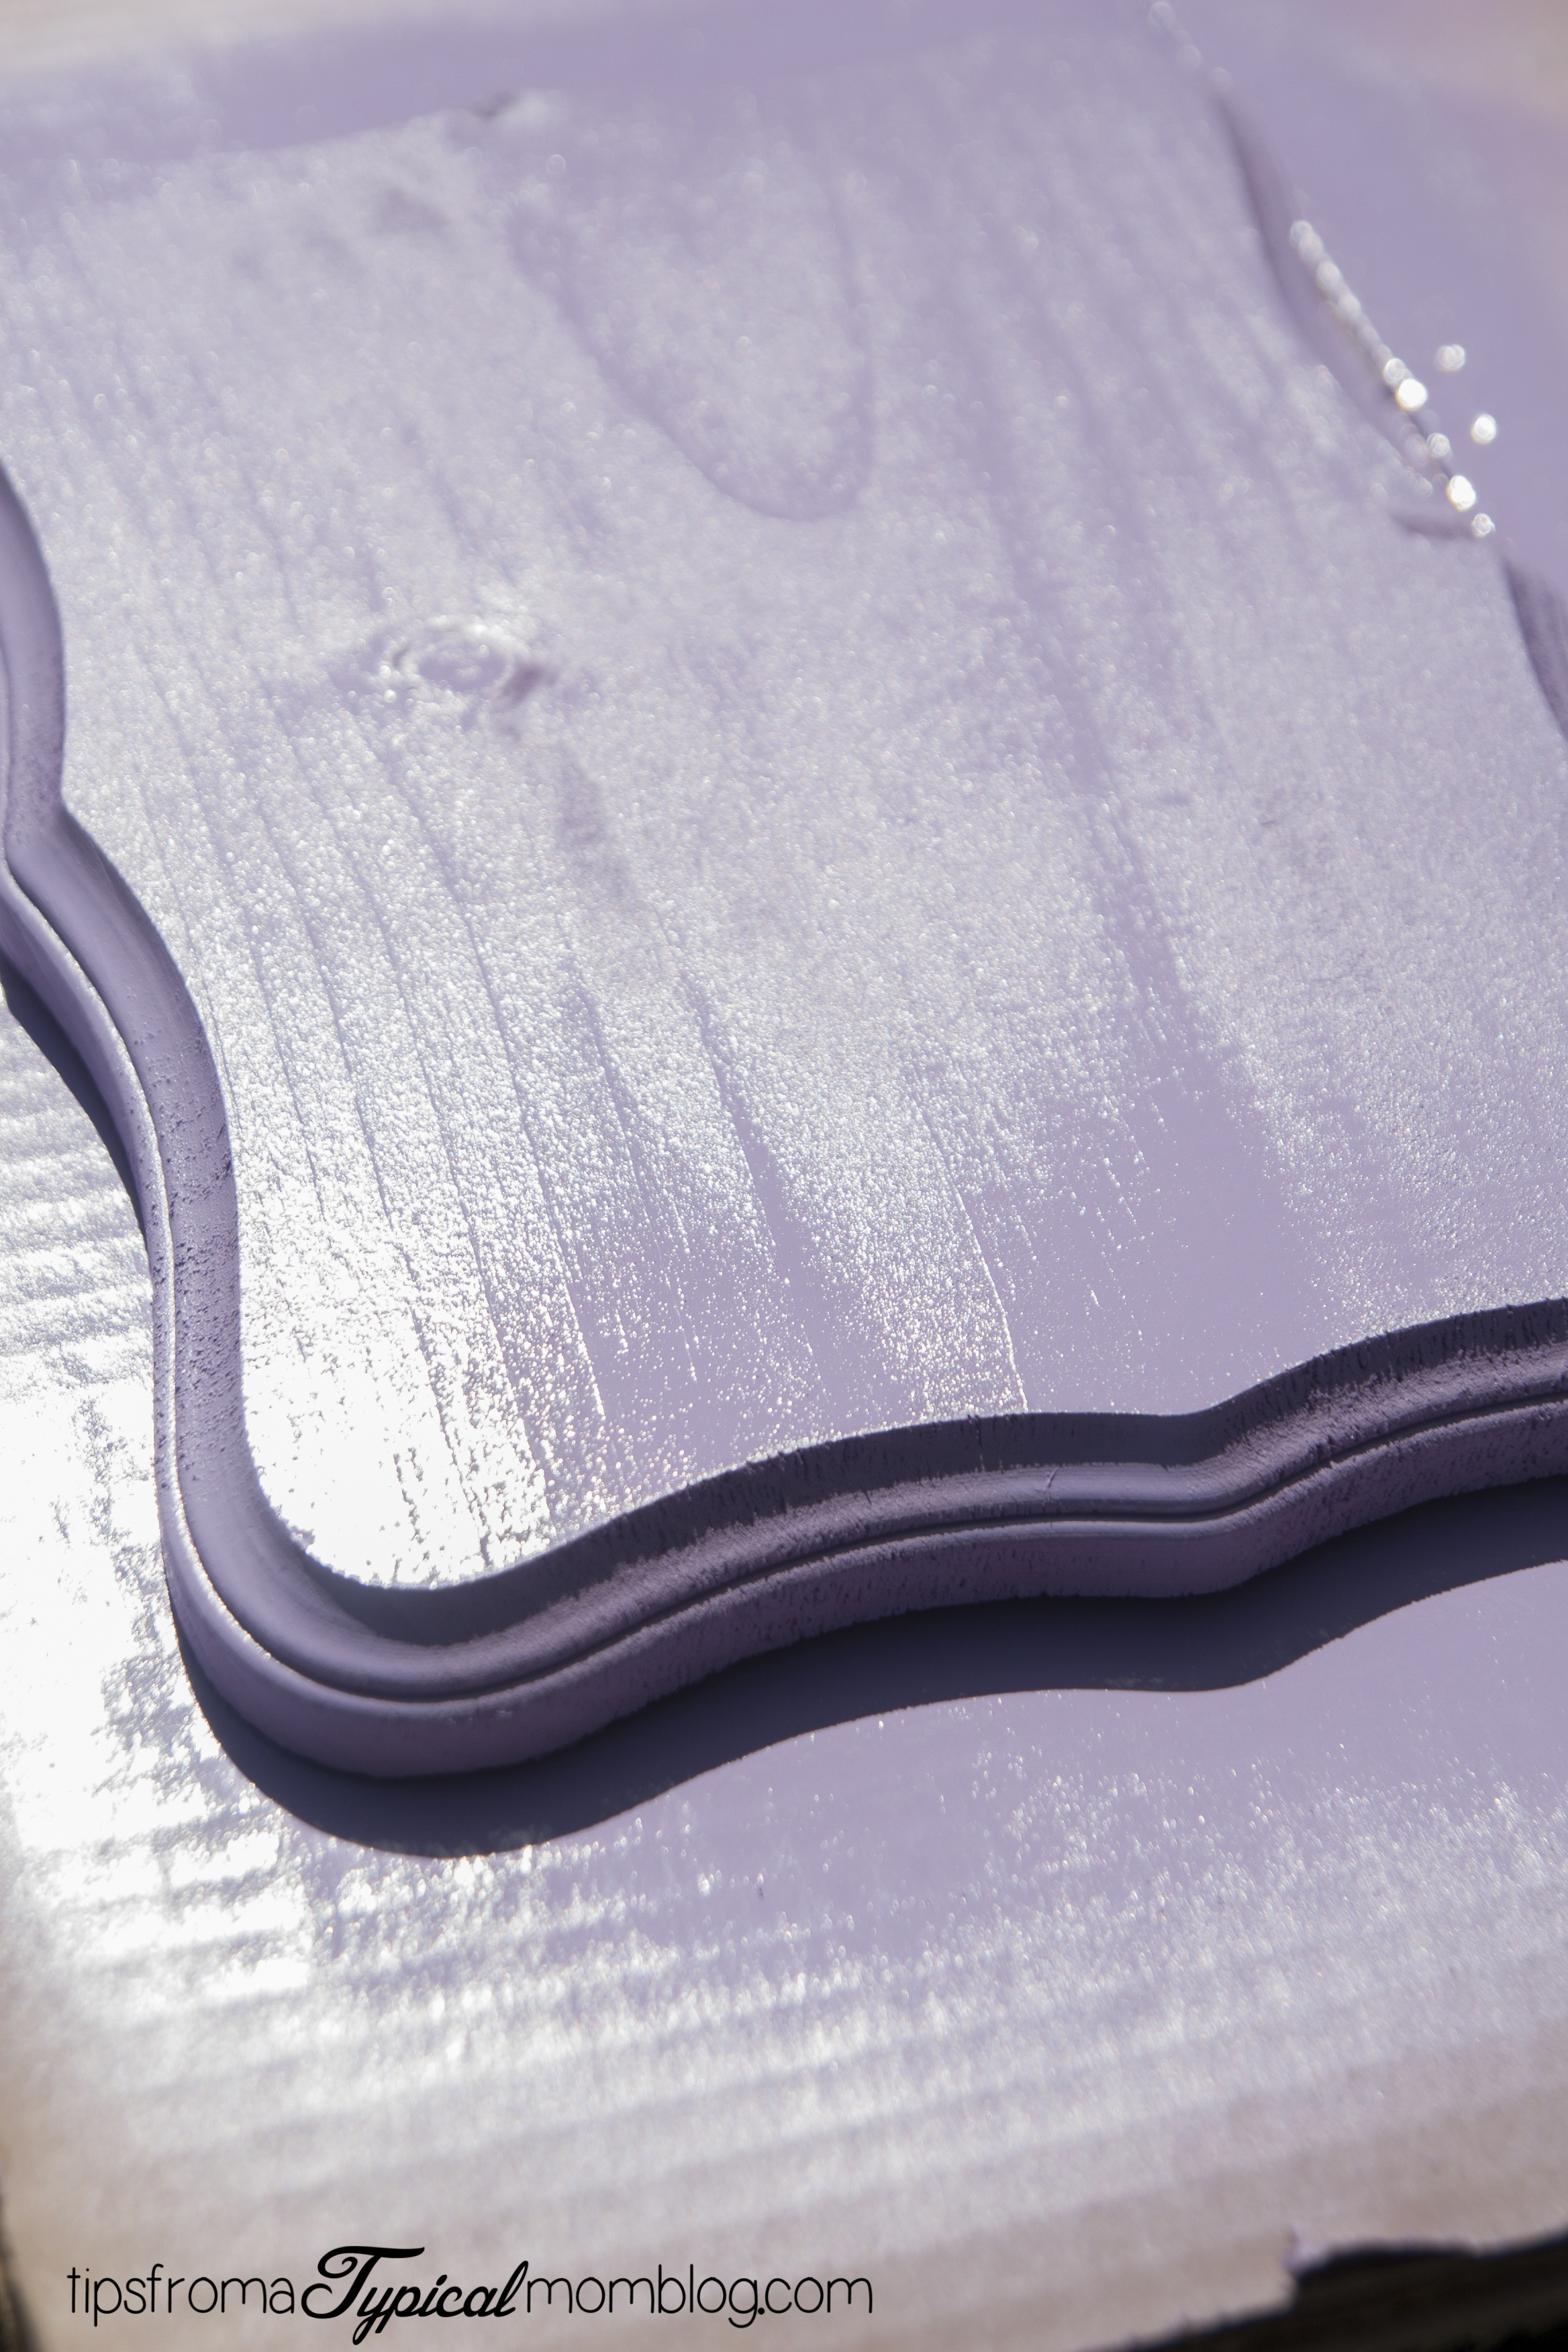
Isn’t it cute!? I love purple, and since it’s spring, I couldn’t resist spray painting it a light purple from Krylon. The actual color is called Gum Drop, who can resist that? Does purple match my home decor, no. But who cares?
Here is what you’ll need to make this DIY Magnetic Key Holder Board:
(FYI I bought all these at Hobby Lobby and you could make this even cheaper using one of their coupons!)
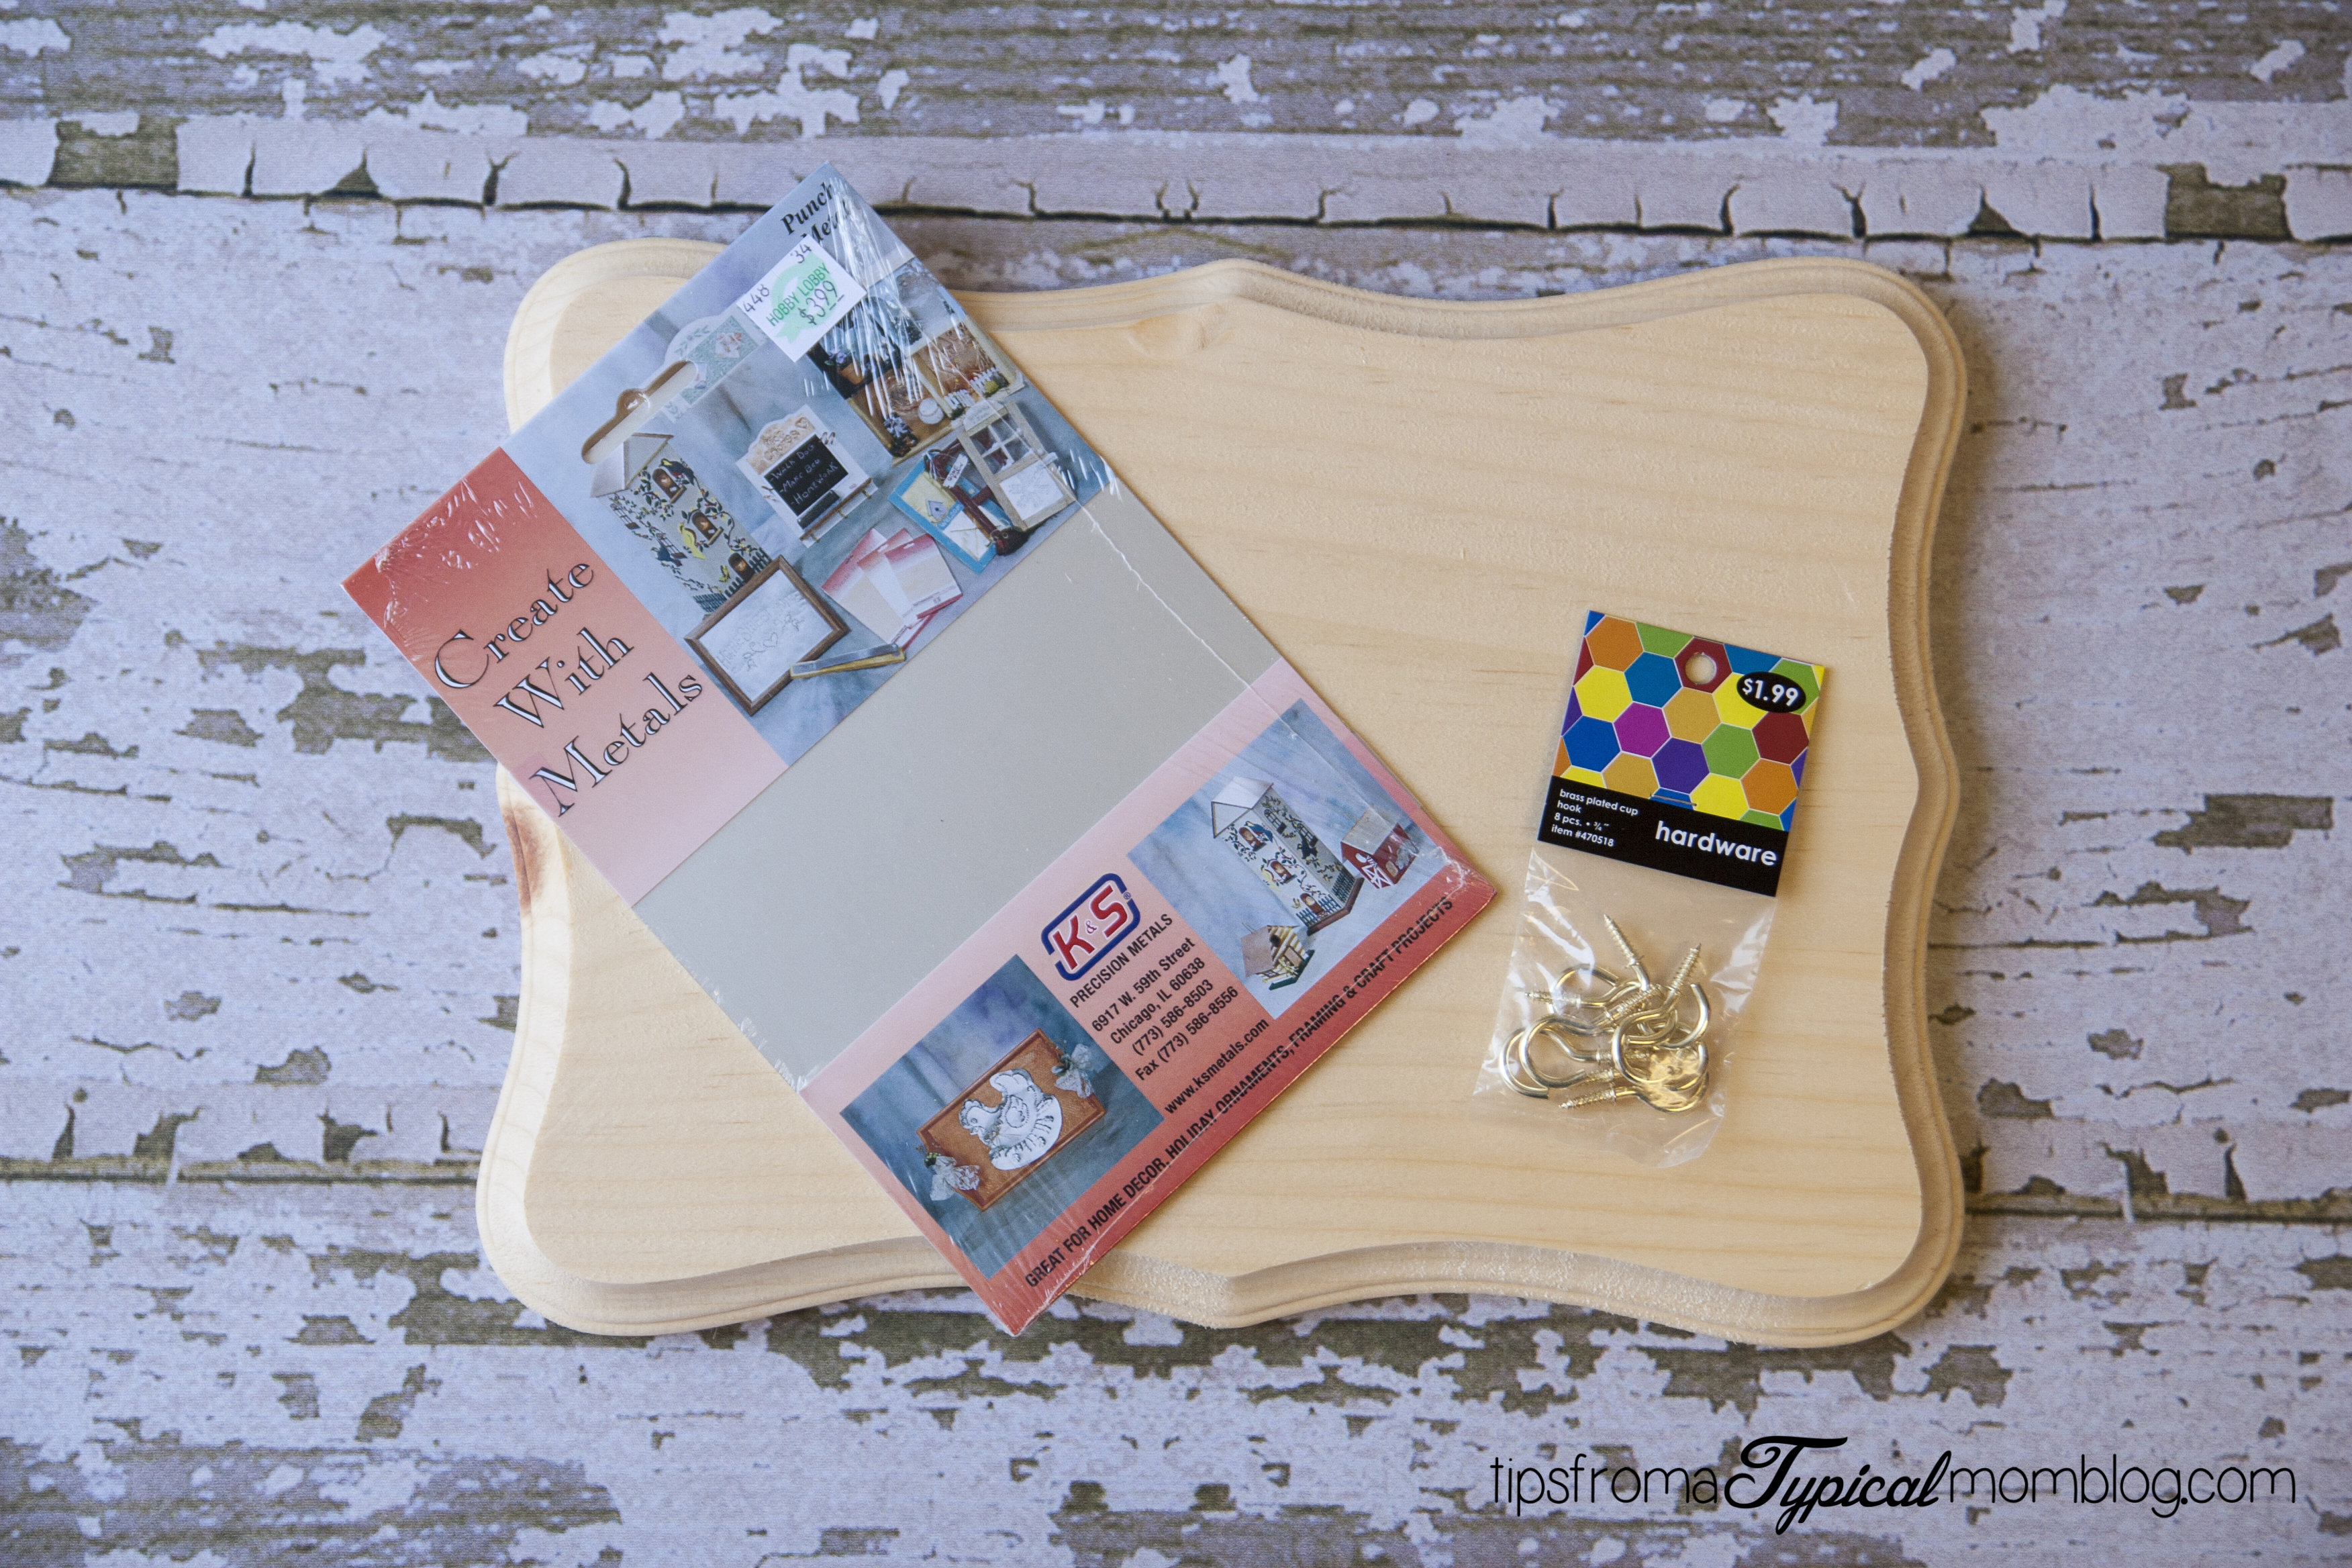
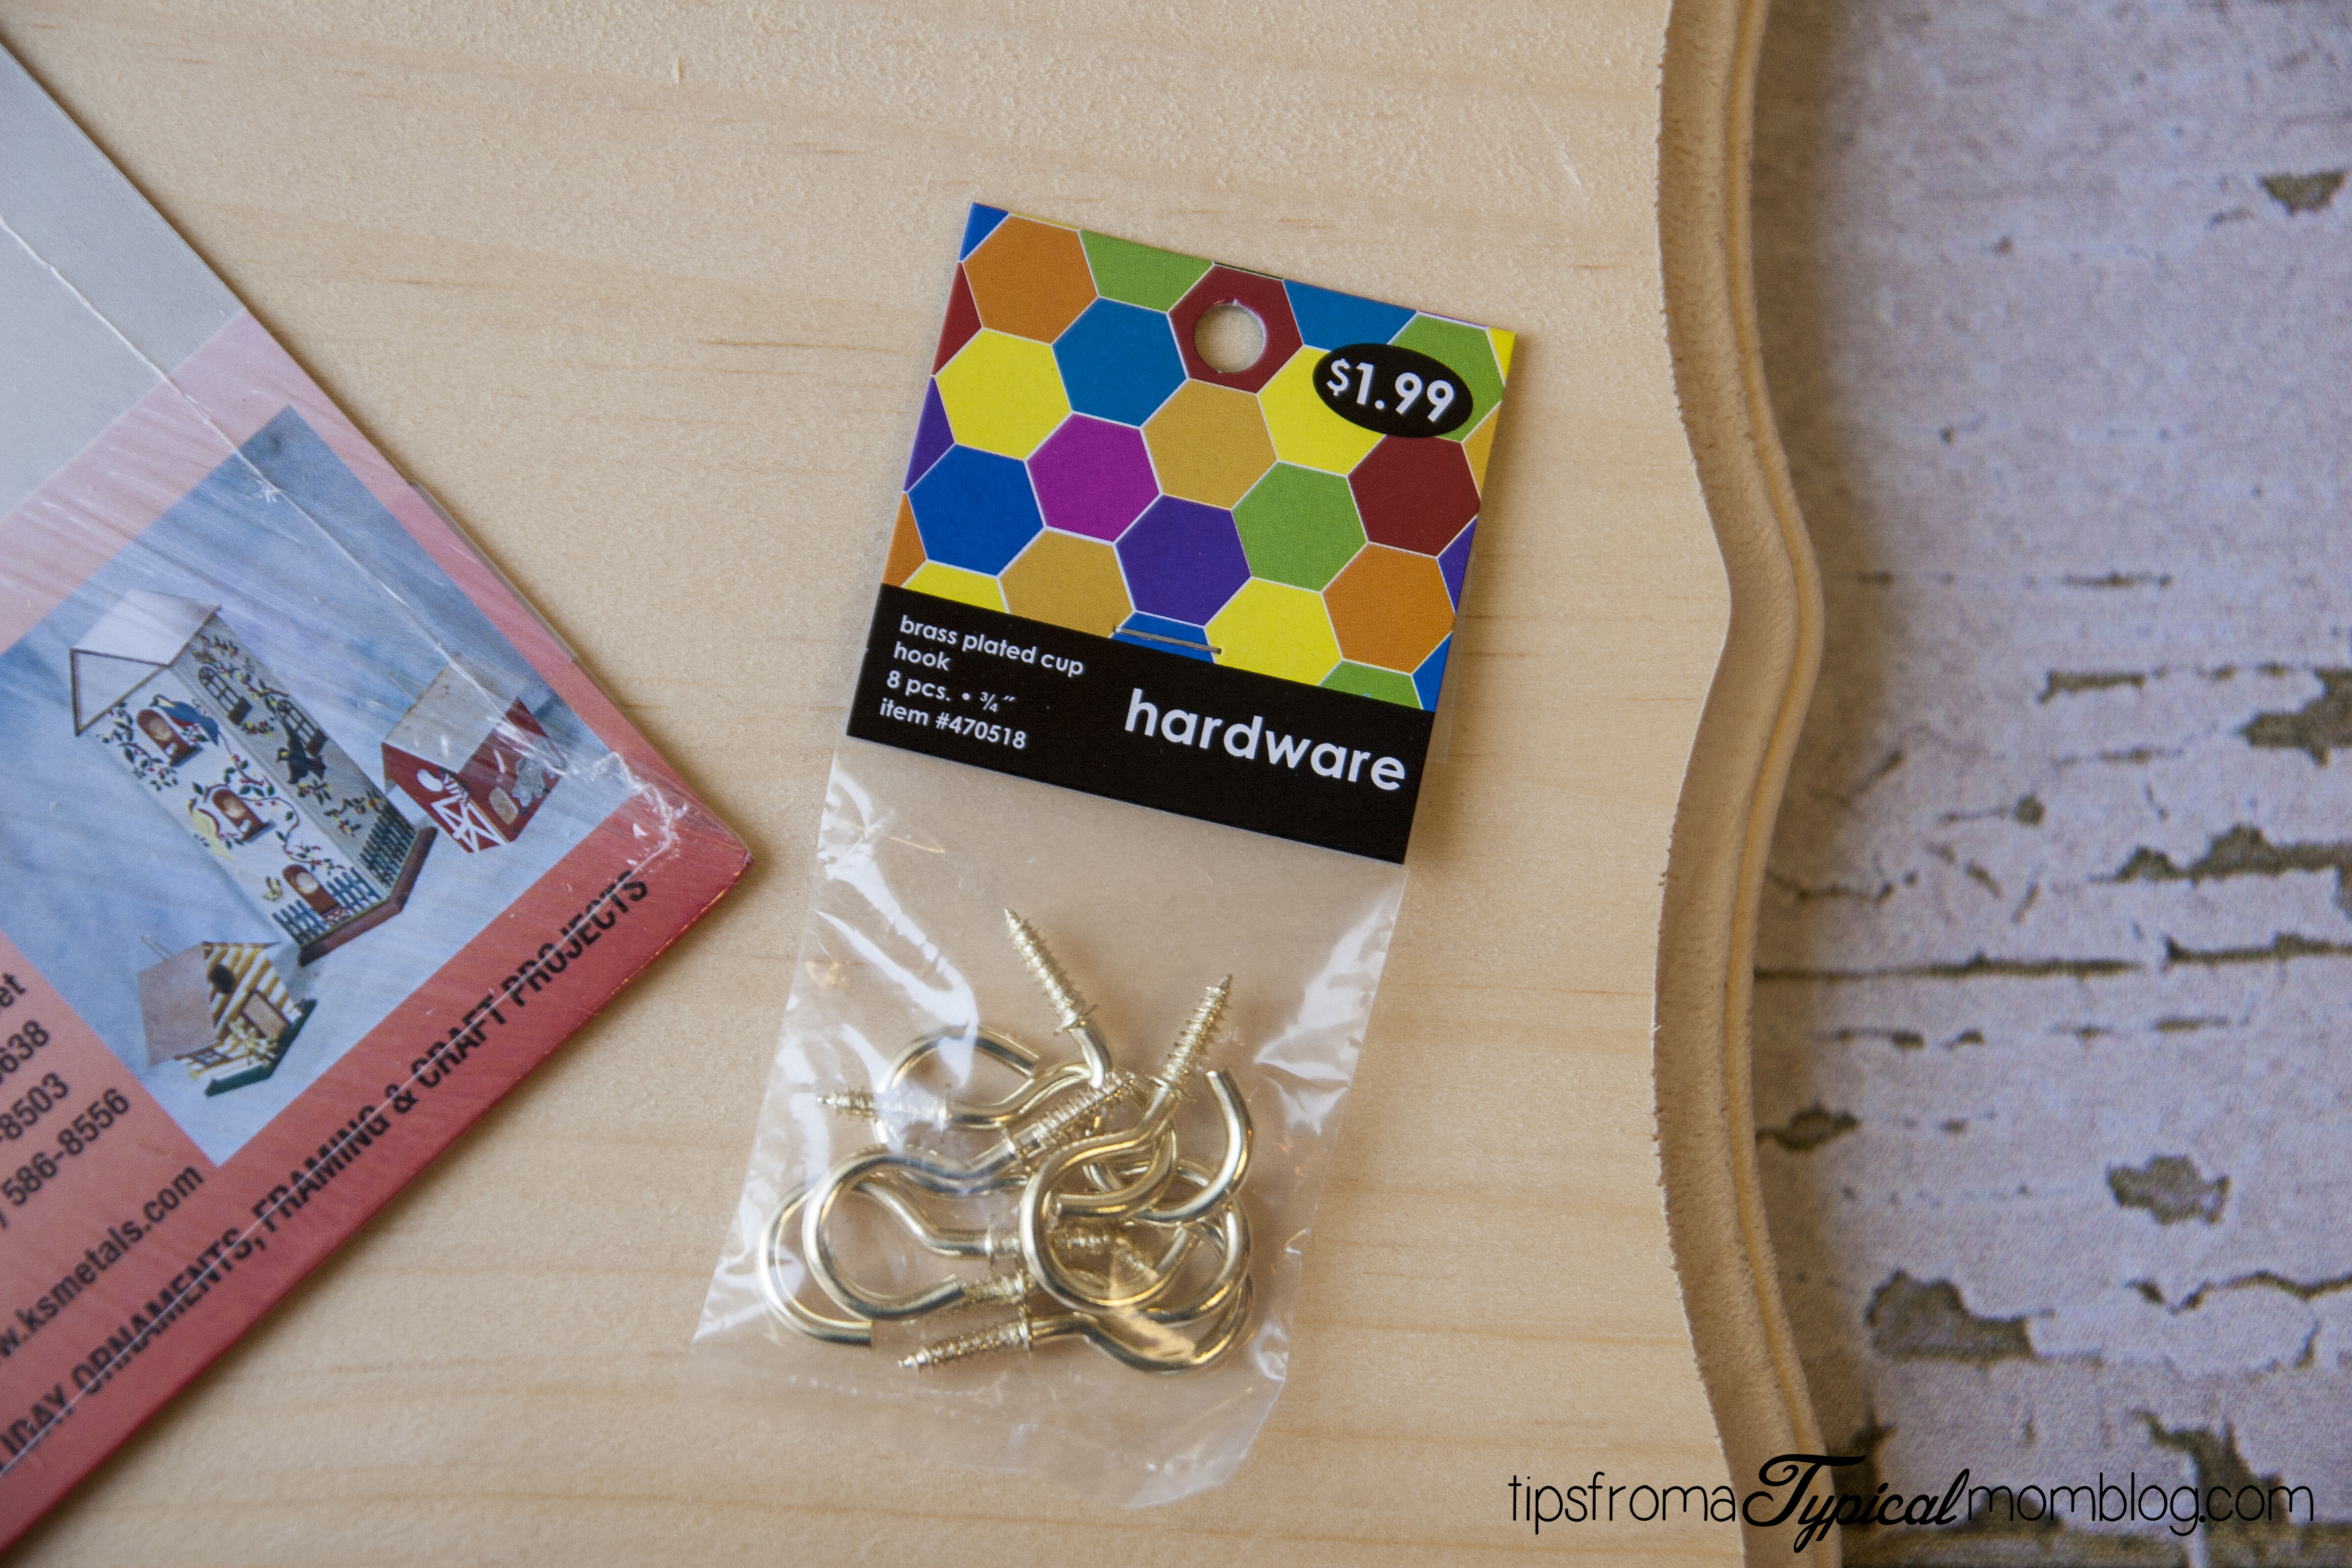
-One package cup hooks-$1.99
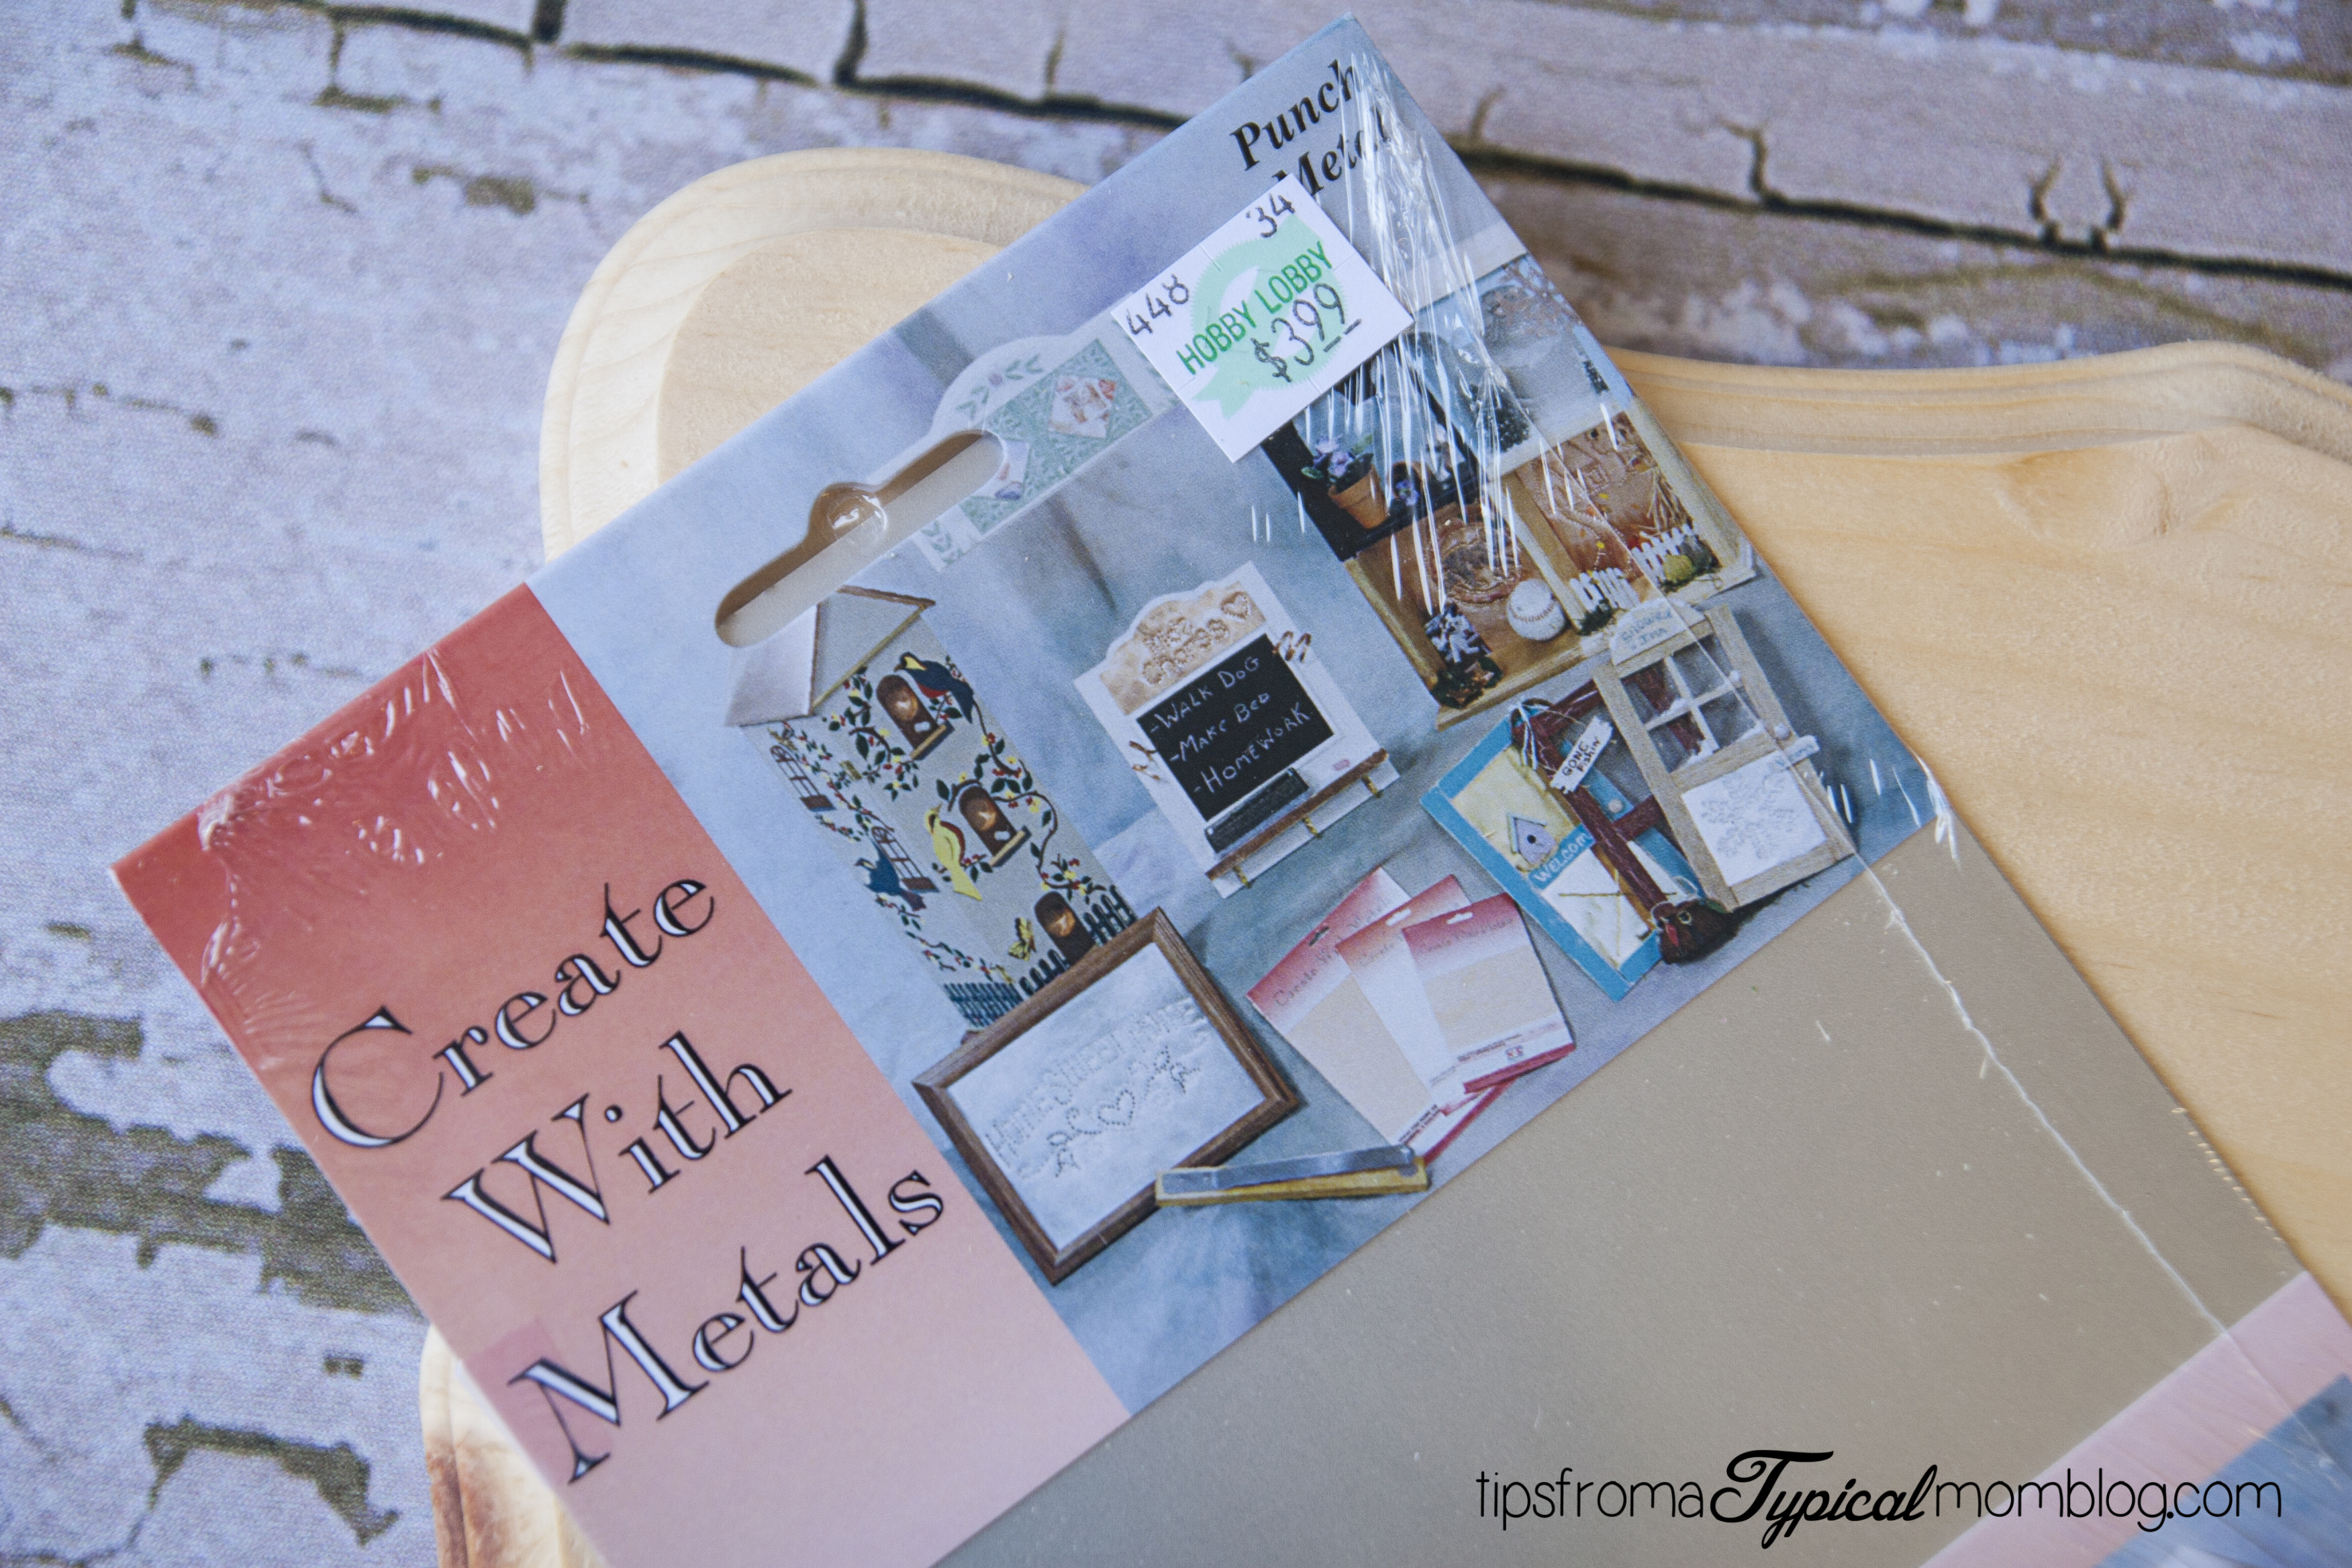
-One 5×7″ “Create With Metals” metal sheet- $3.99
-One shaped wood board of your choice. They have different shapes to choose from. $2.99

You’ll also need paint and small 1/2 inch skinny sharp finishing nails for the metal.
Start out by sanding you’re board well. Then paint it the color of your choice. I chose Gum Drop from Krylon.
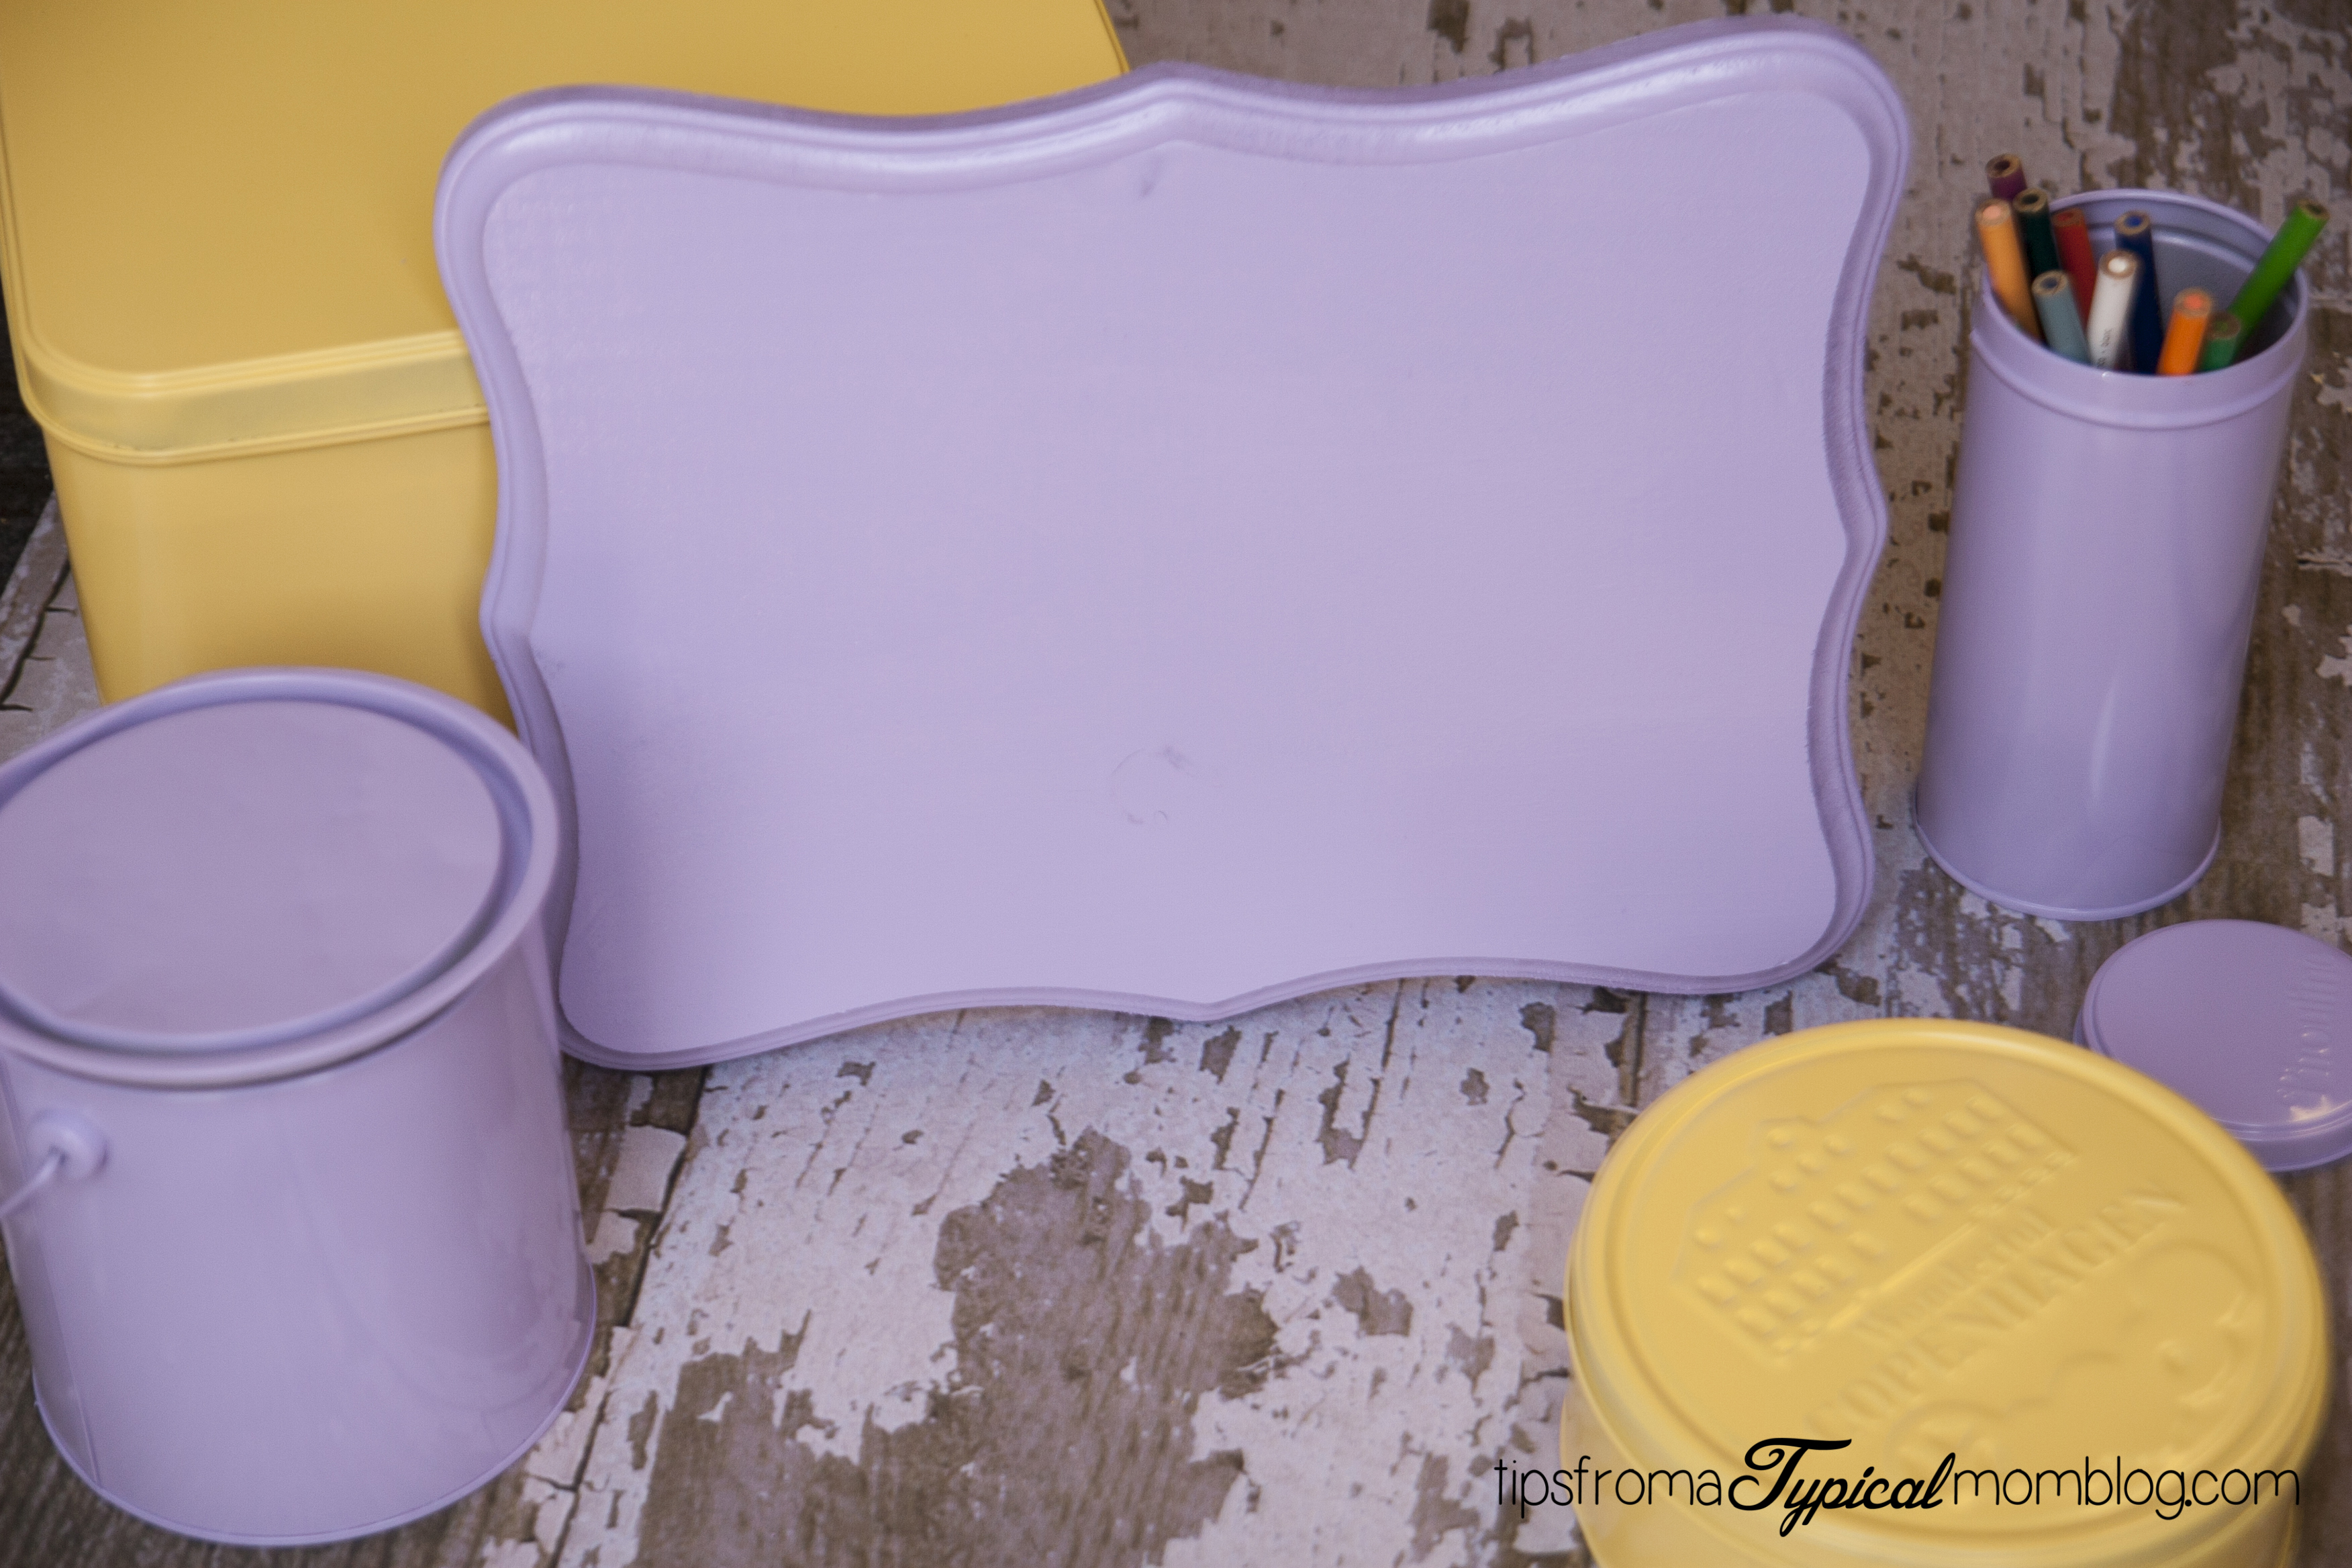
As you can see, I have a whole theme going on here. I’m re-decorating (or decorating for the first time) my office. This spray paint goes a long way. The tutorial for the recycled tin containers is coming soon.
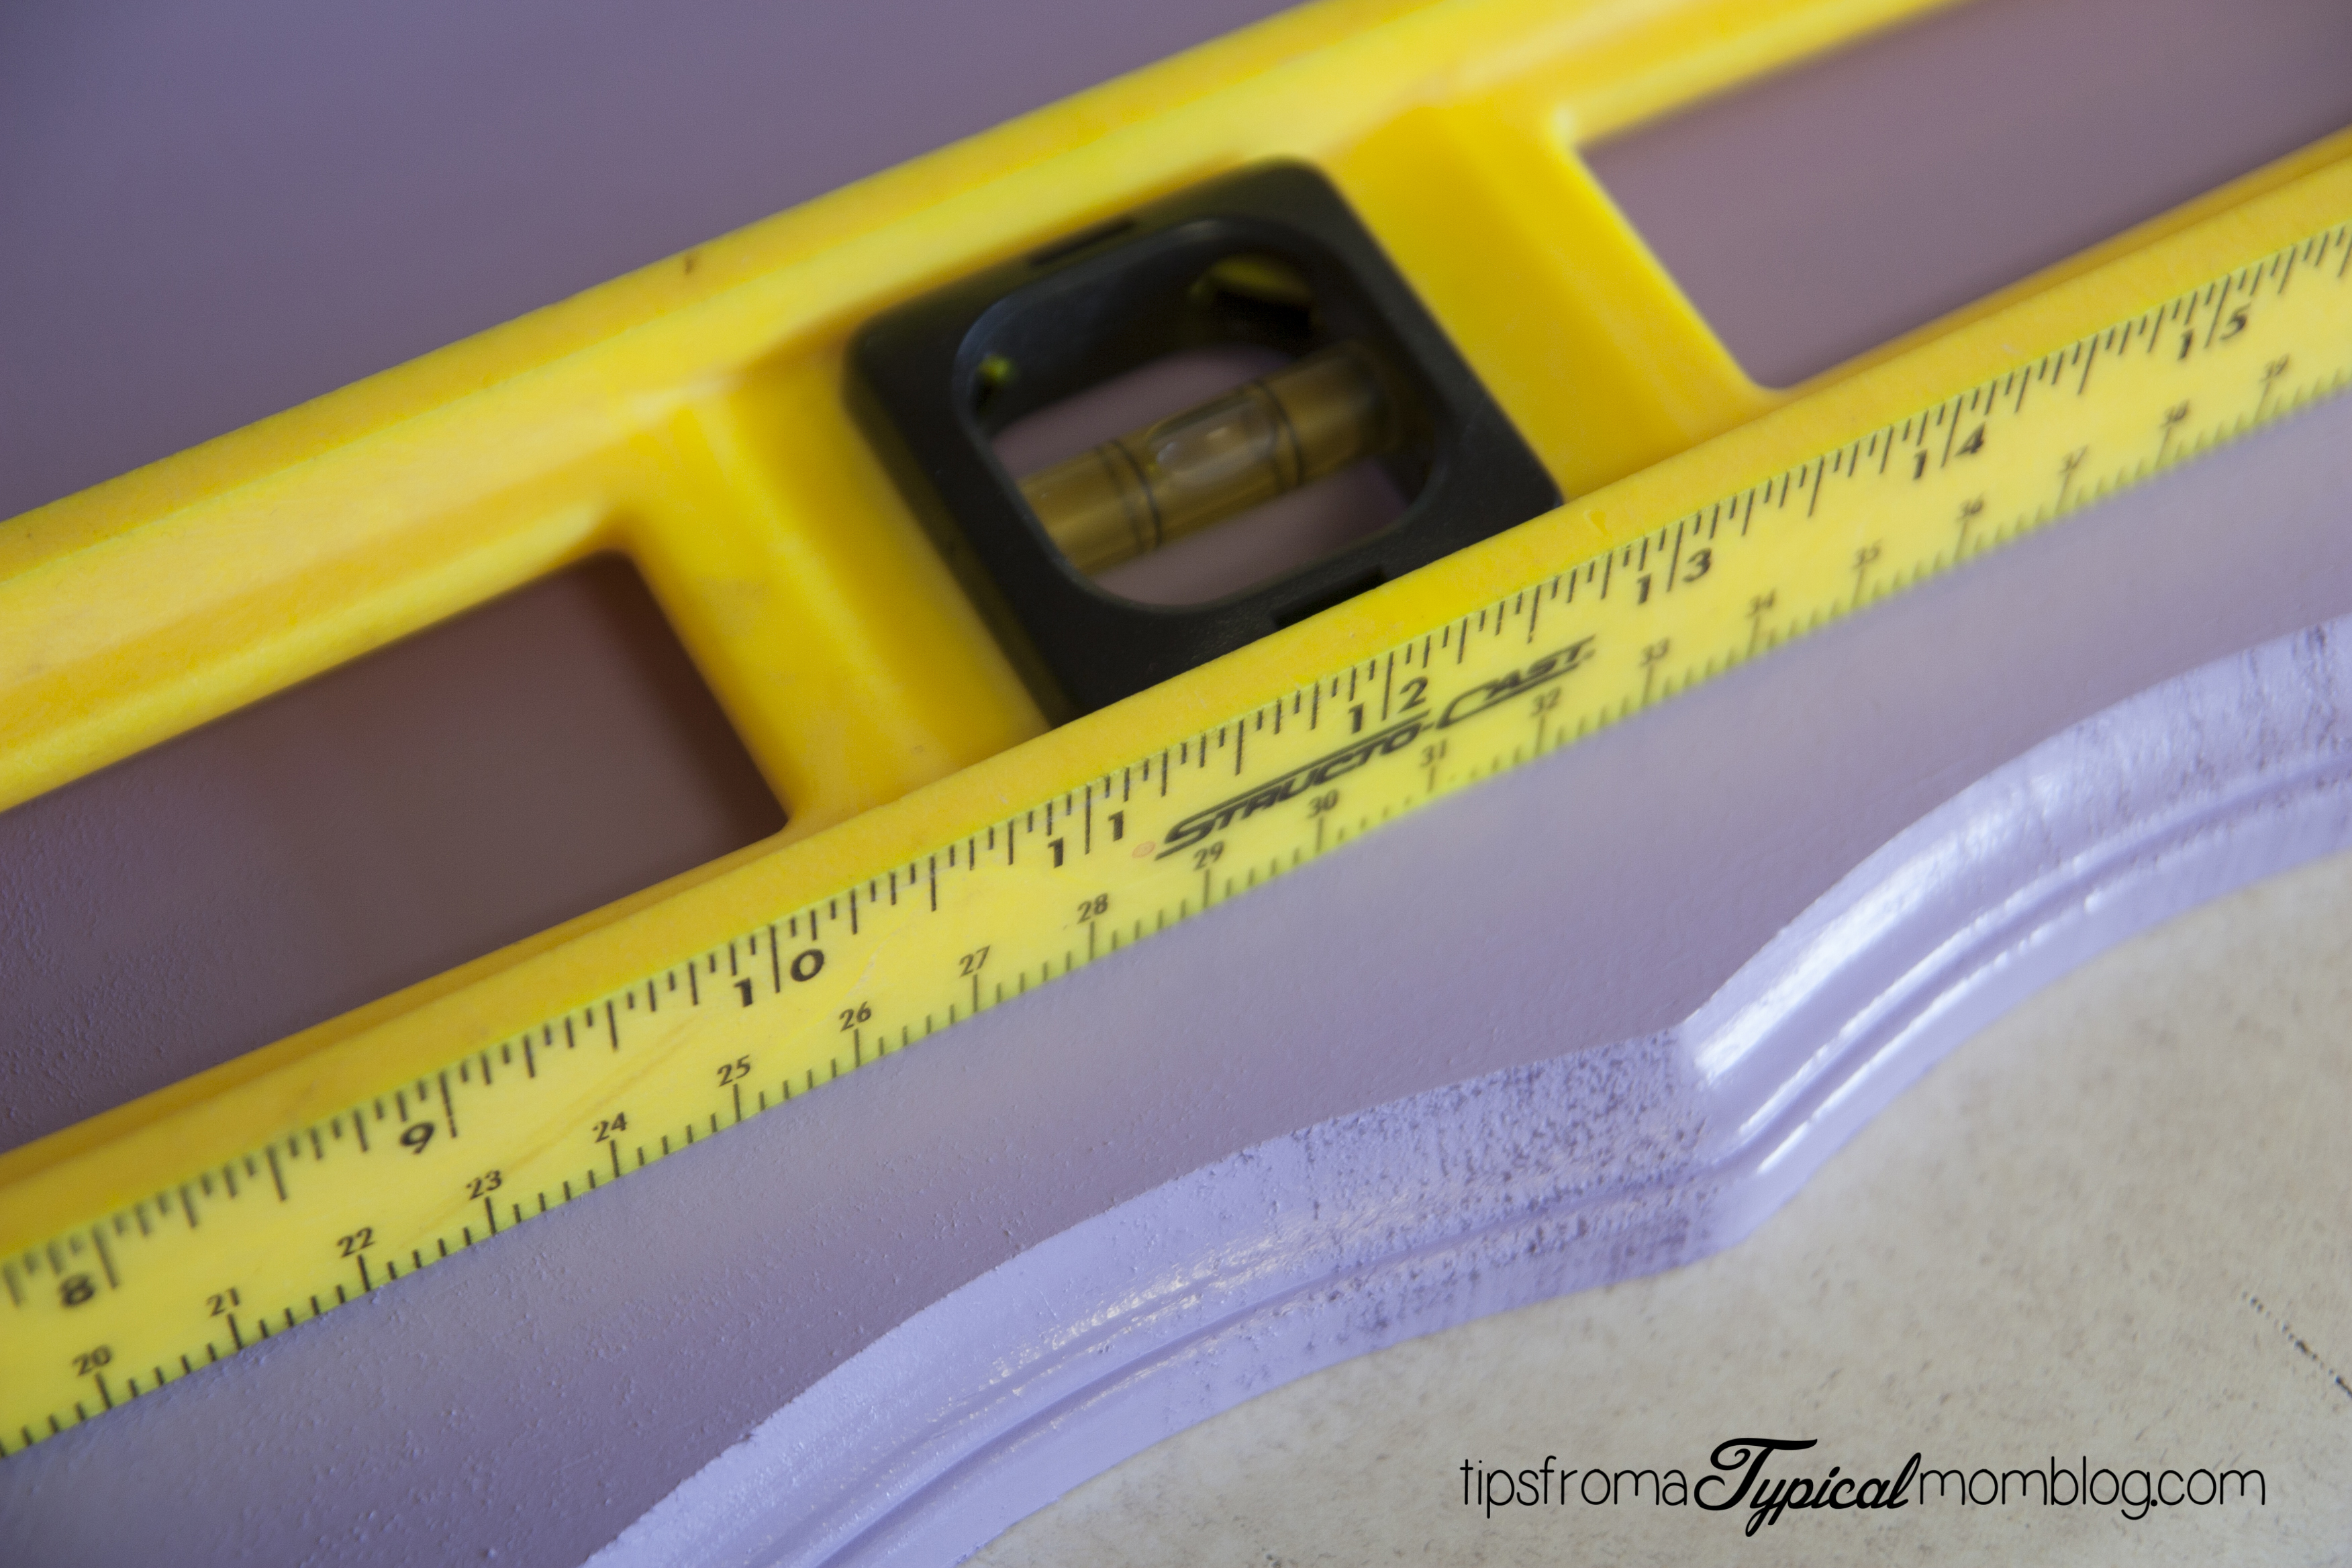
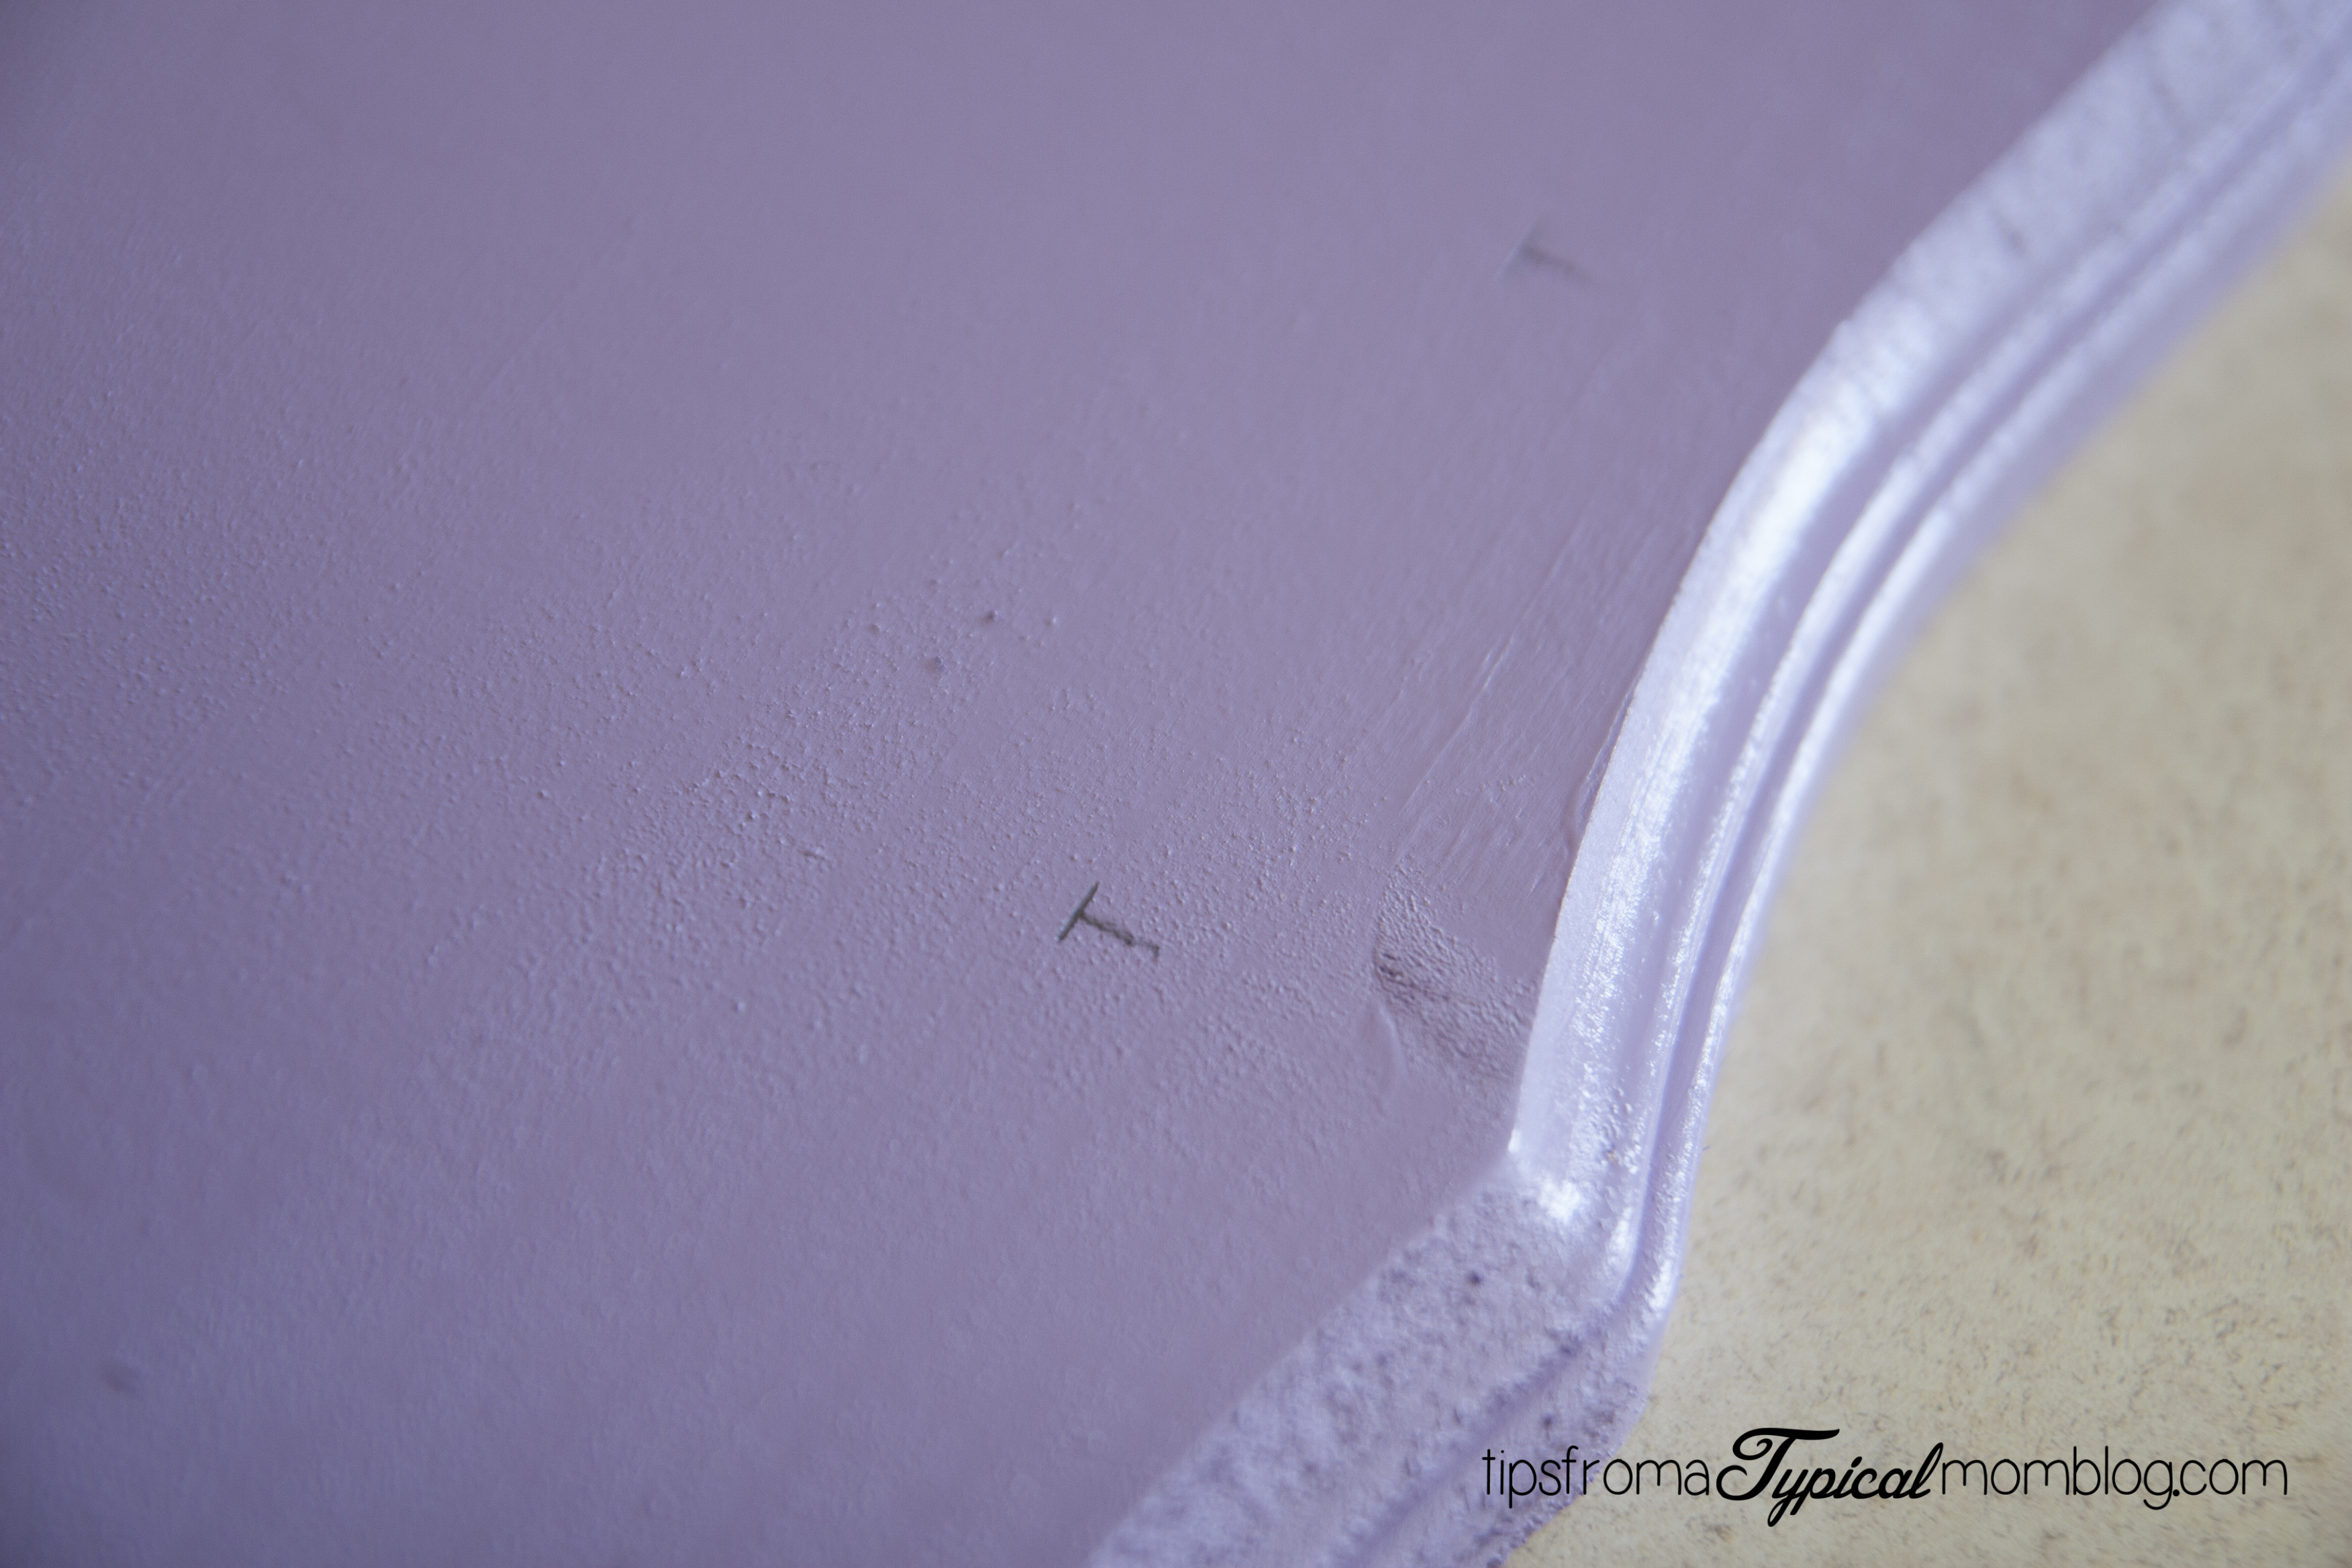
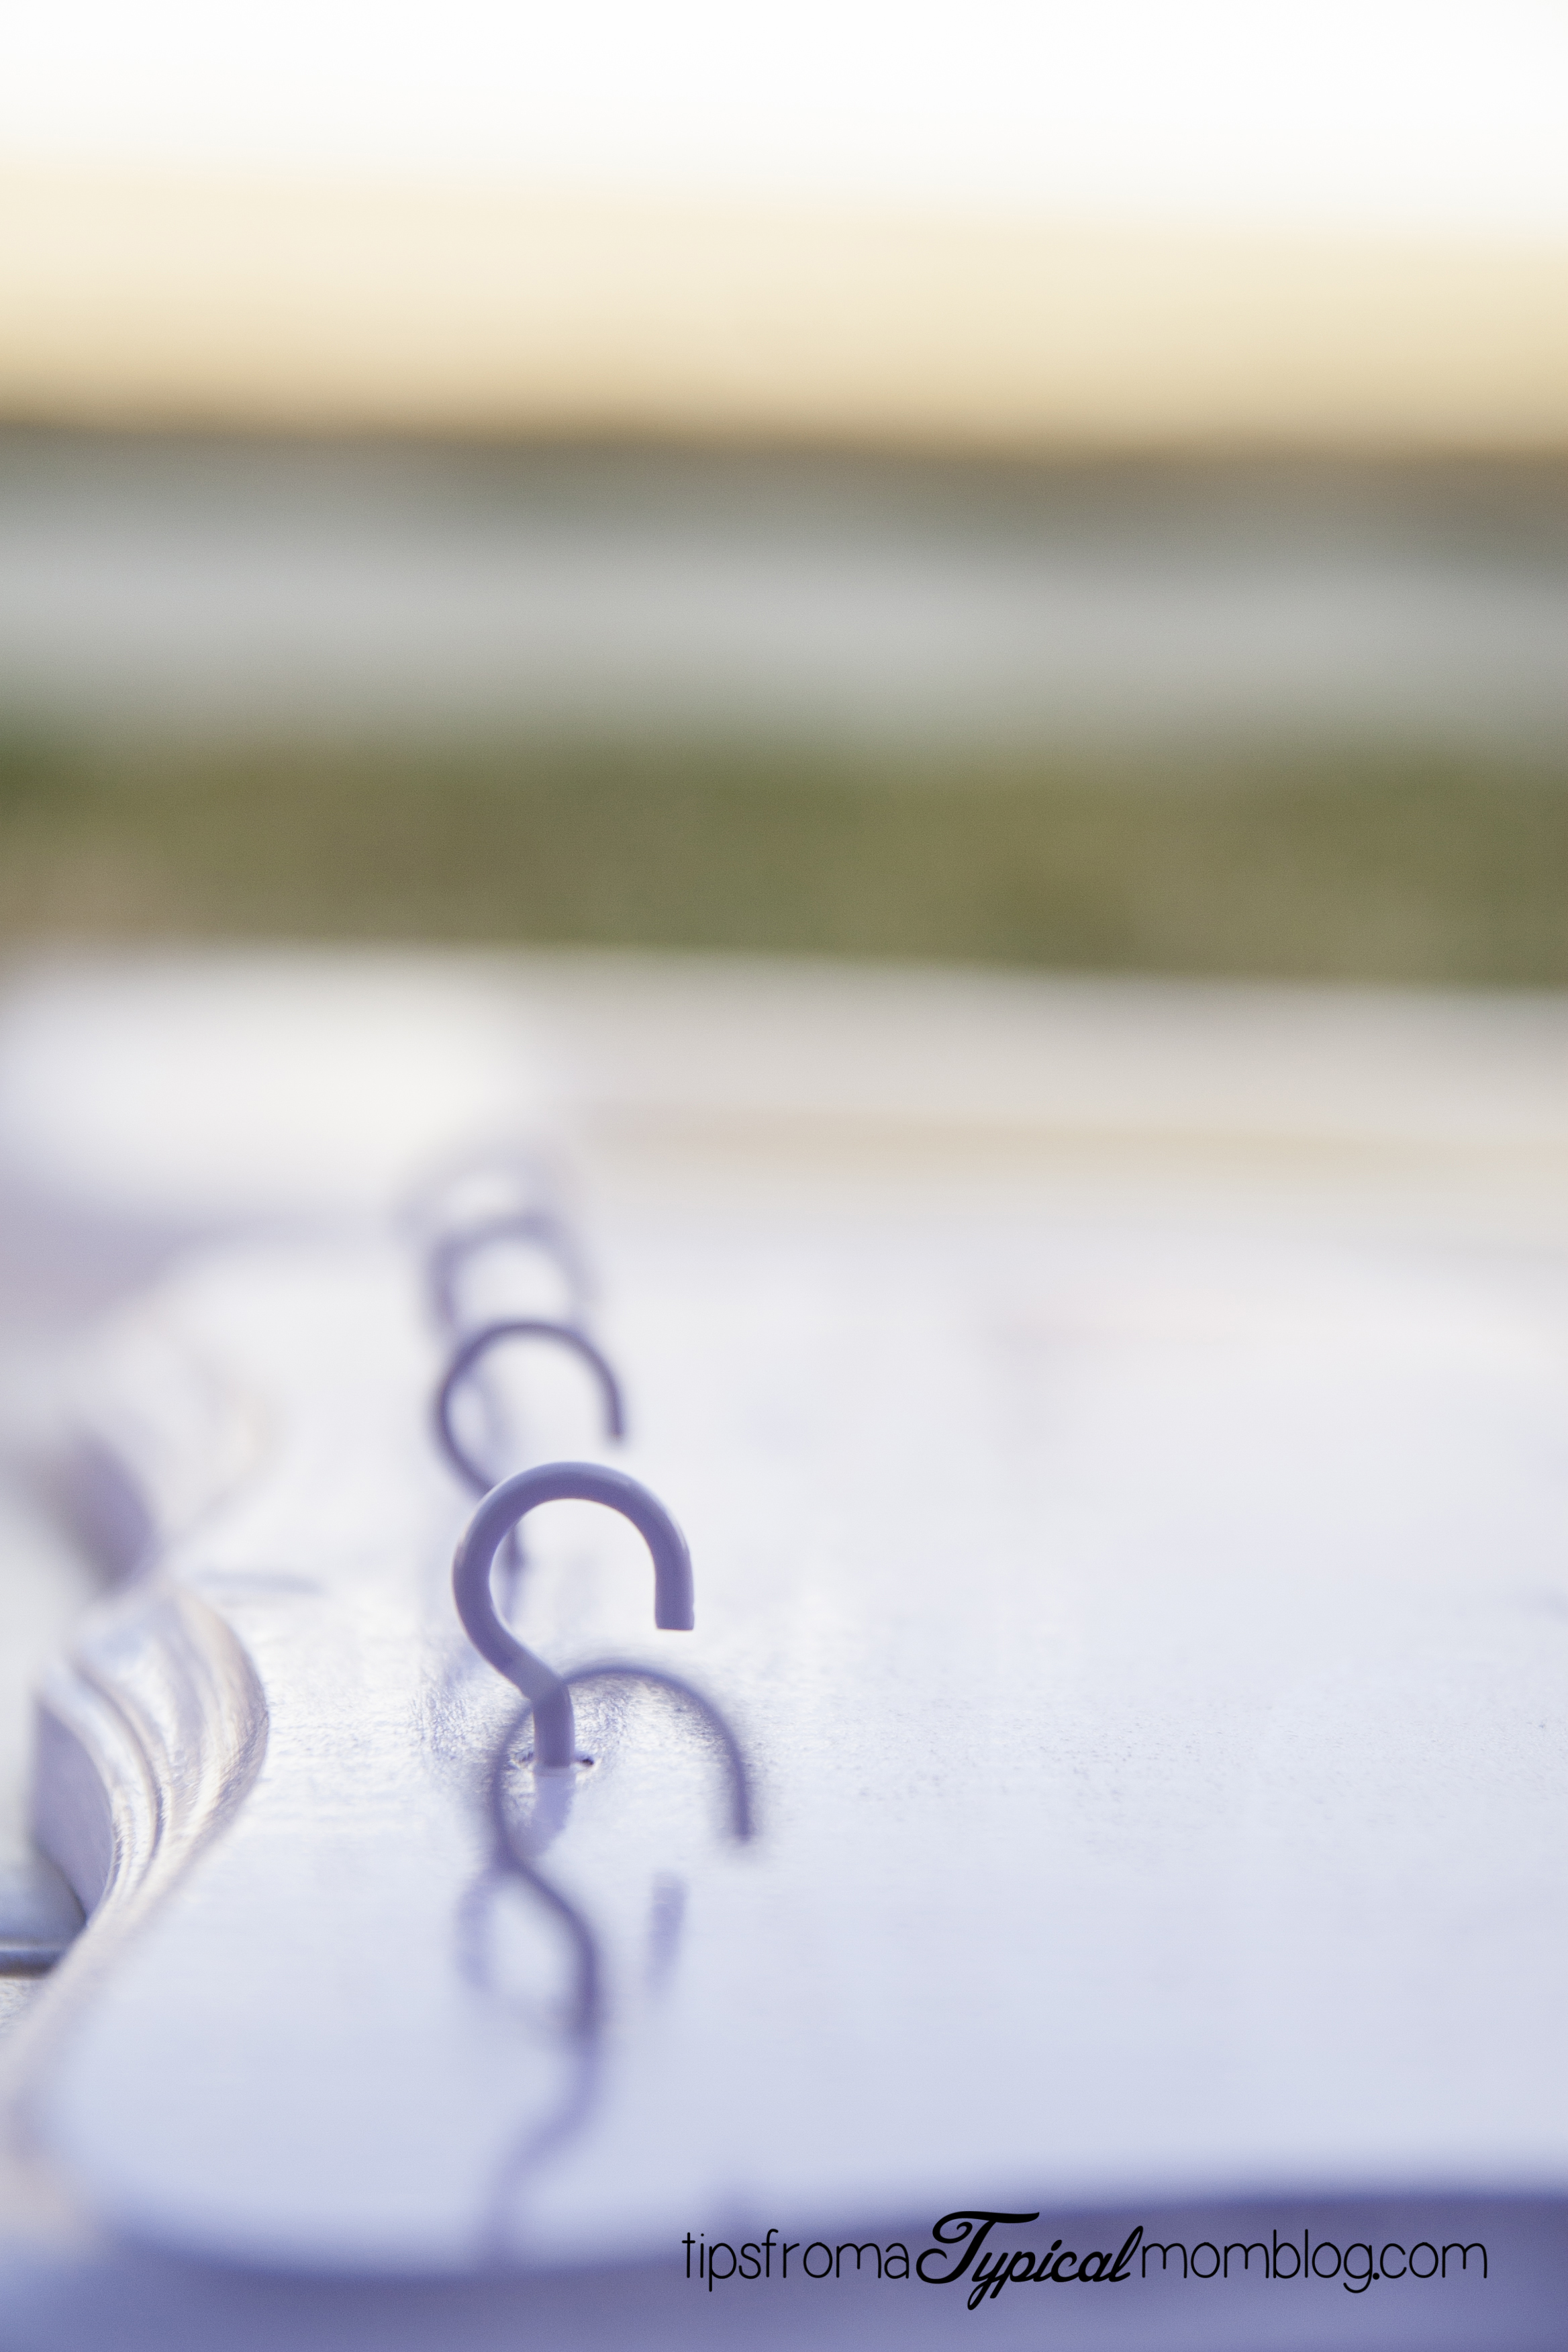
After the paint dries, it’s time to add the hooks. This is where a level comes in really handy. I just have someone hold the board straight up and down on a level surface, then get the level straight on the line I want the hooks to go, and measure every two inches. I made a T shape so I could see the exact center.
Now screw in your cup hooks. If you are having a hard time getting them started, just tap lightly with something heavy. You can use a hammer, but be careful. I used the back of a butter knife.
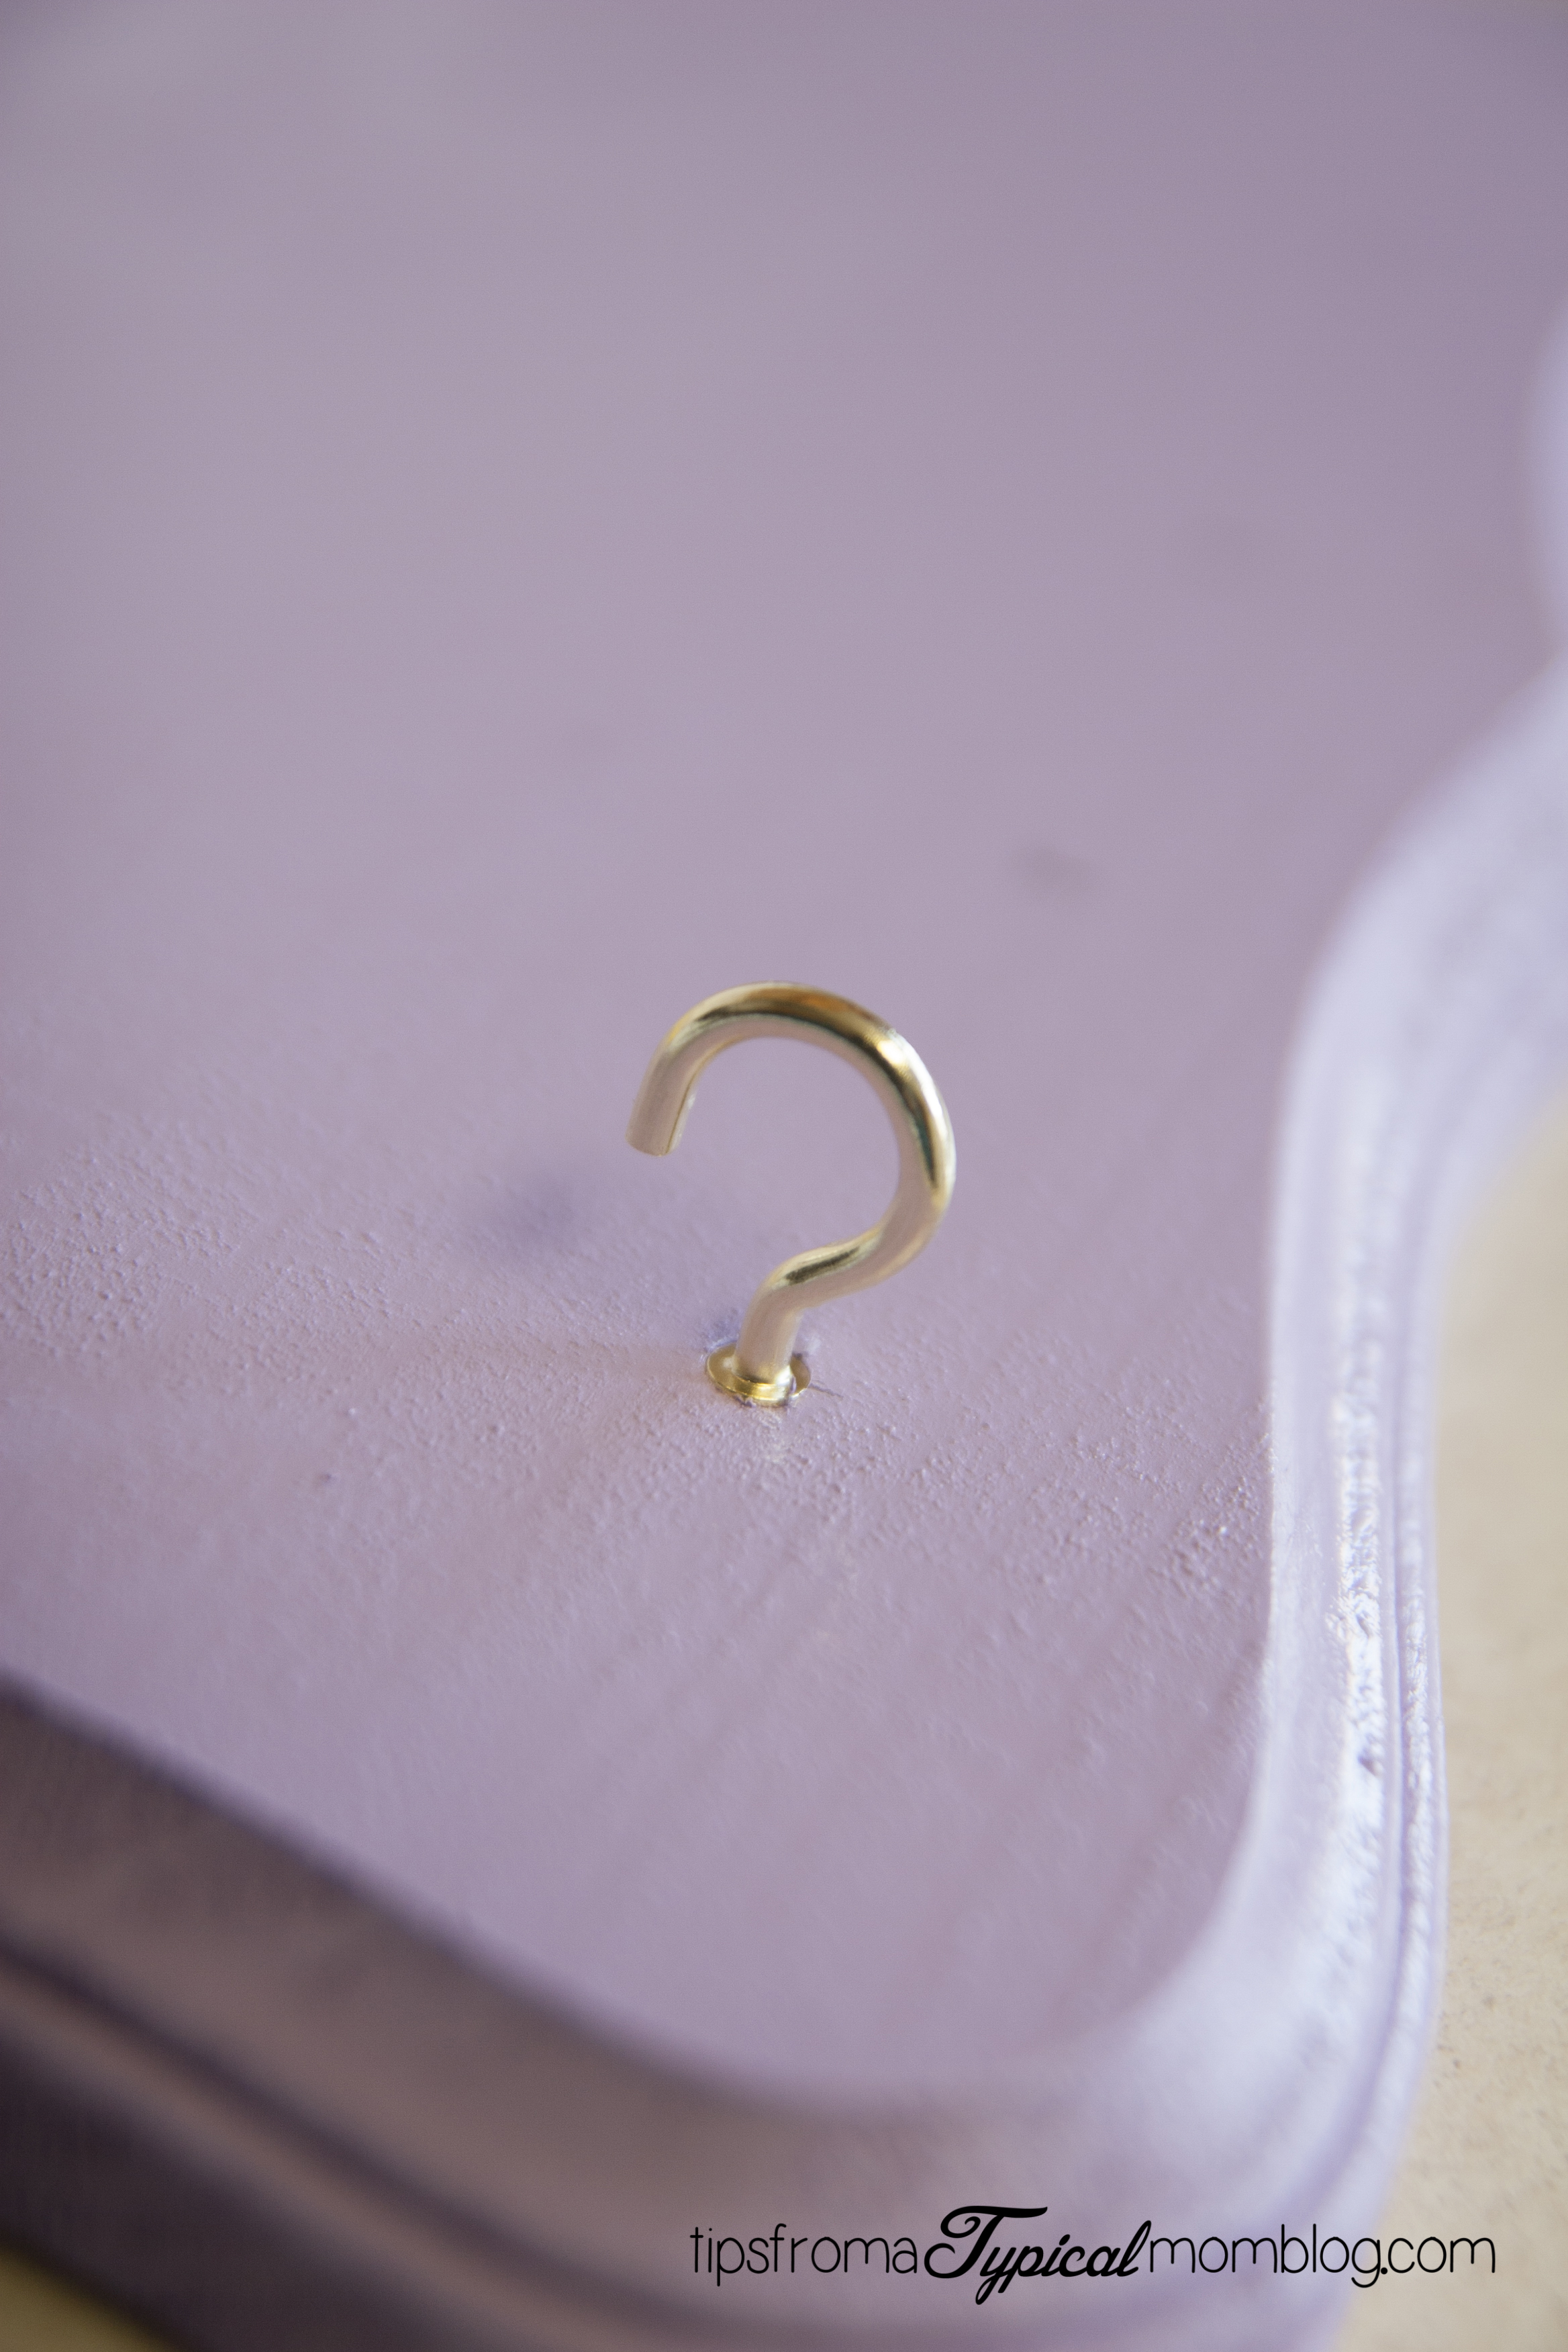
I didn’t want gold metal and silver metal together, so after I added the cup hooks, I spray painted them also.
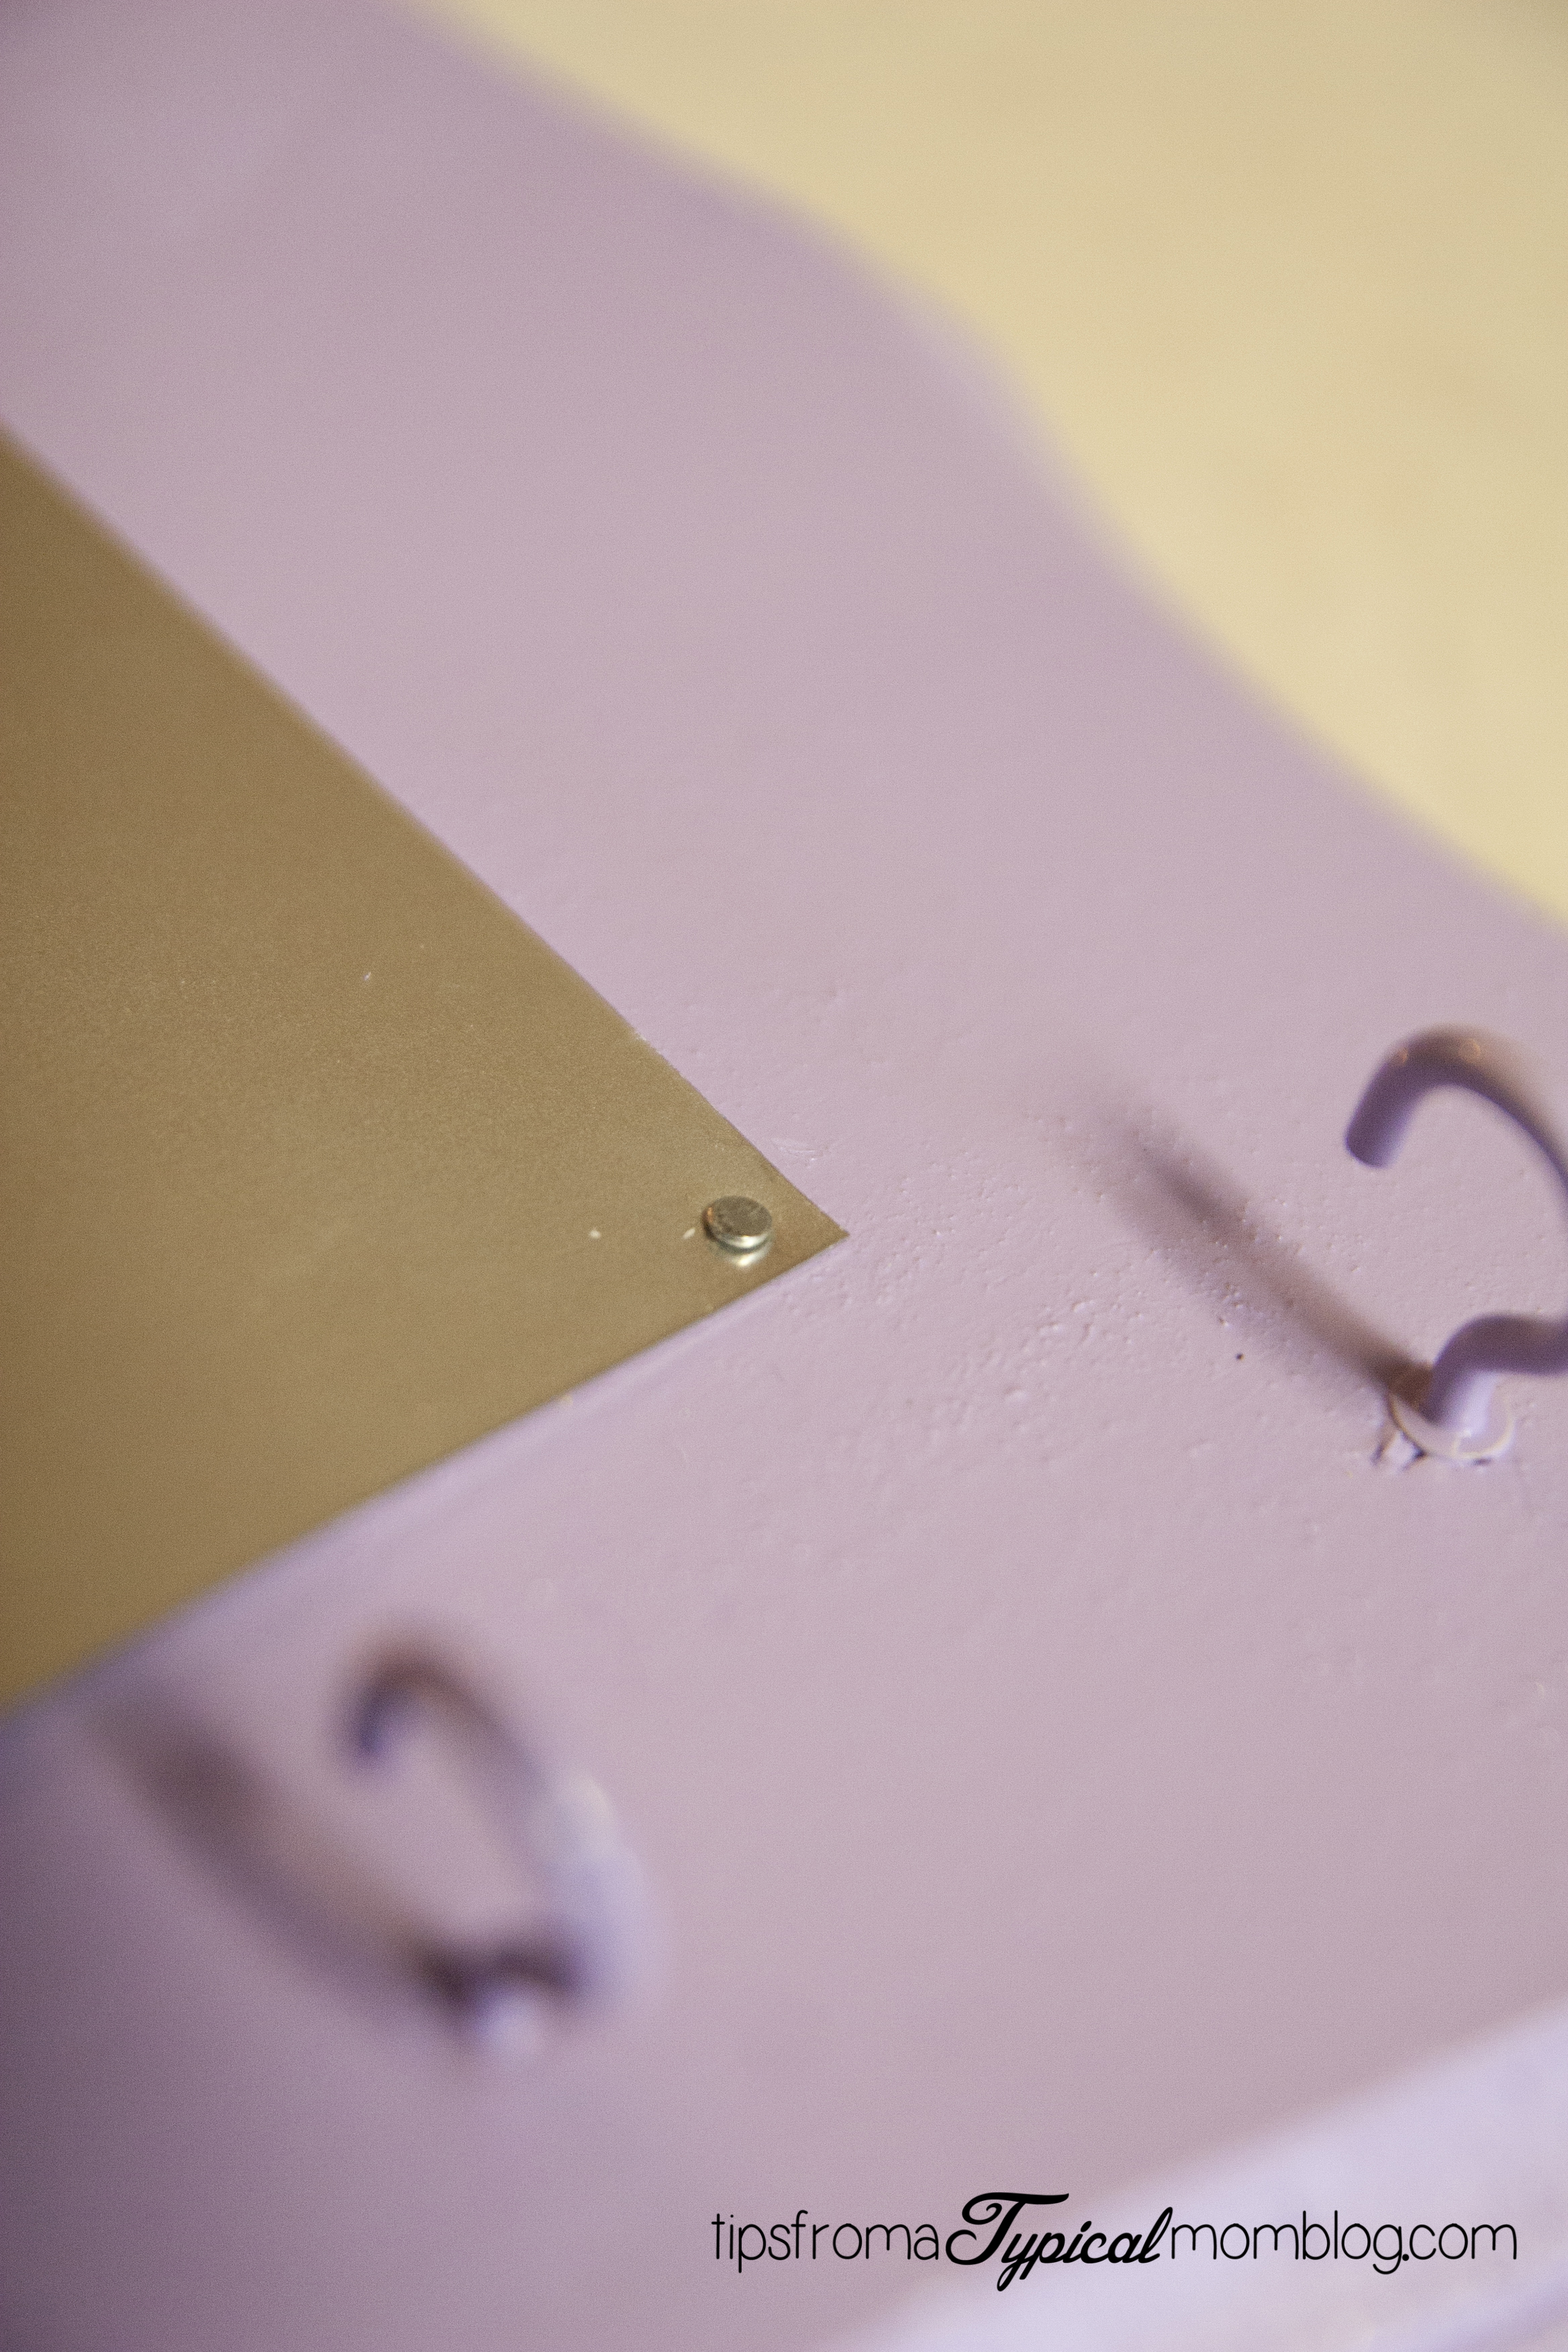
Now it’s time to add the metal. I also used a level to make sure it was straight. I started by measuring from the side and top how far in the metal should go. Then I added one nail to the top right hand corner, held the board straight up on a level surface, then swung the metal up to level. Then I added the other three nails.

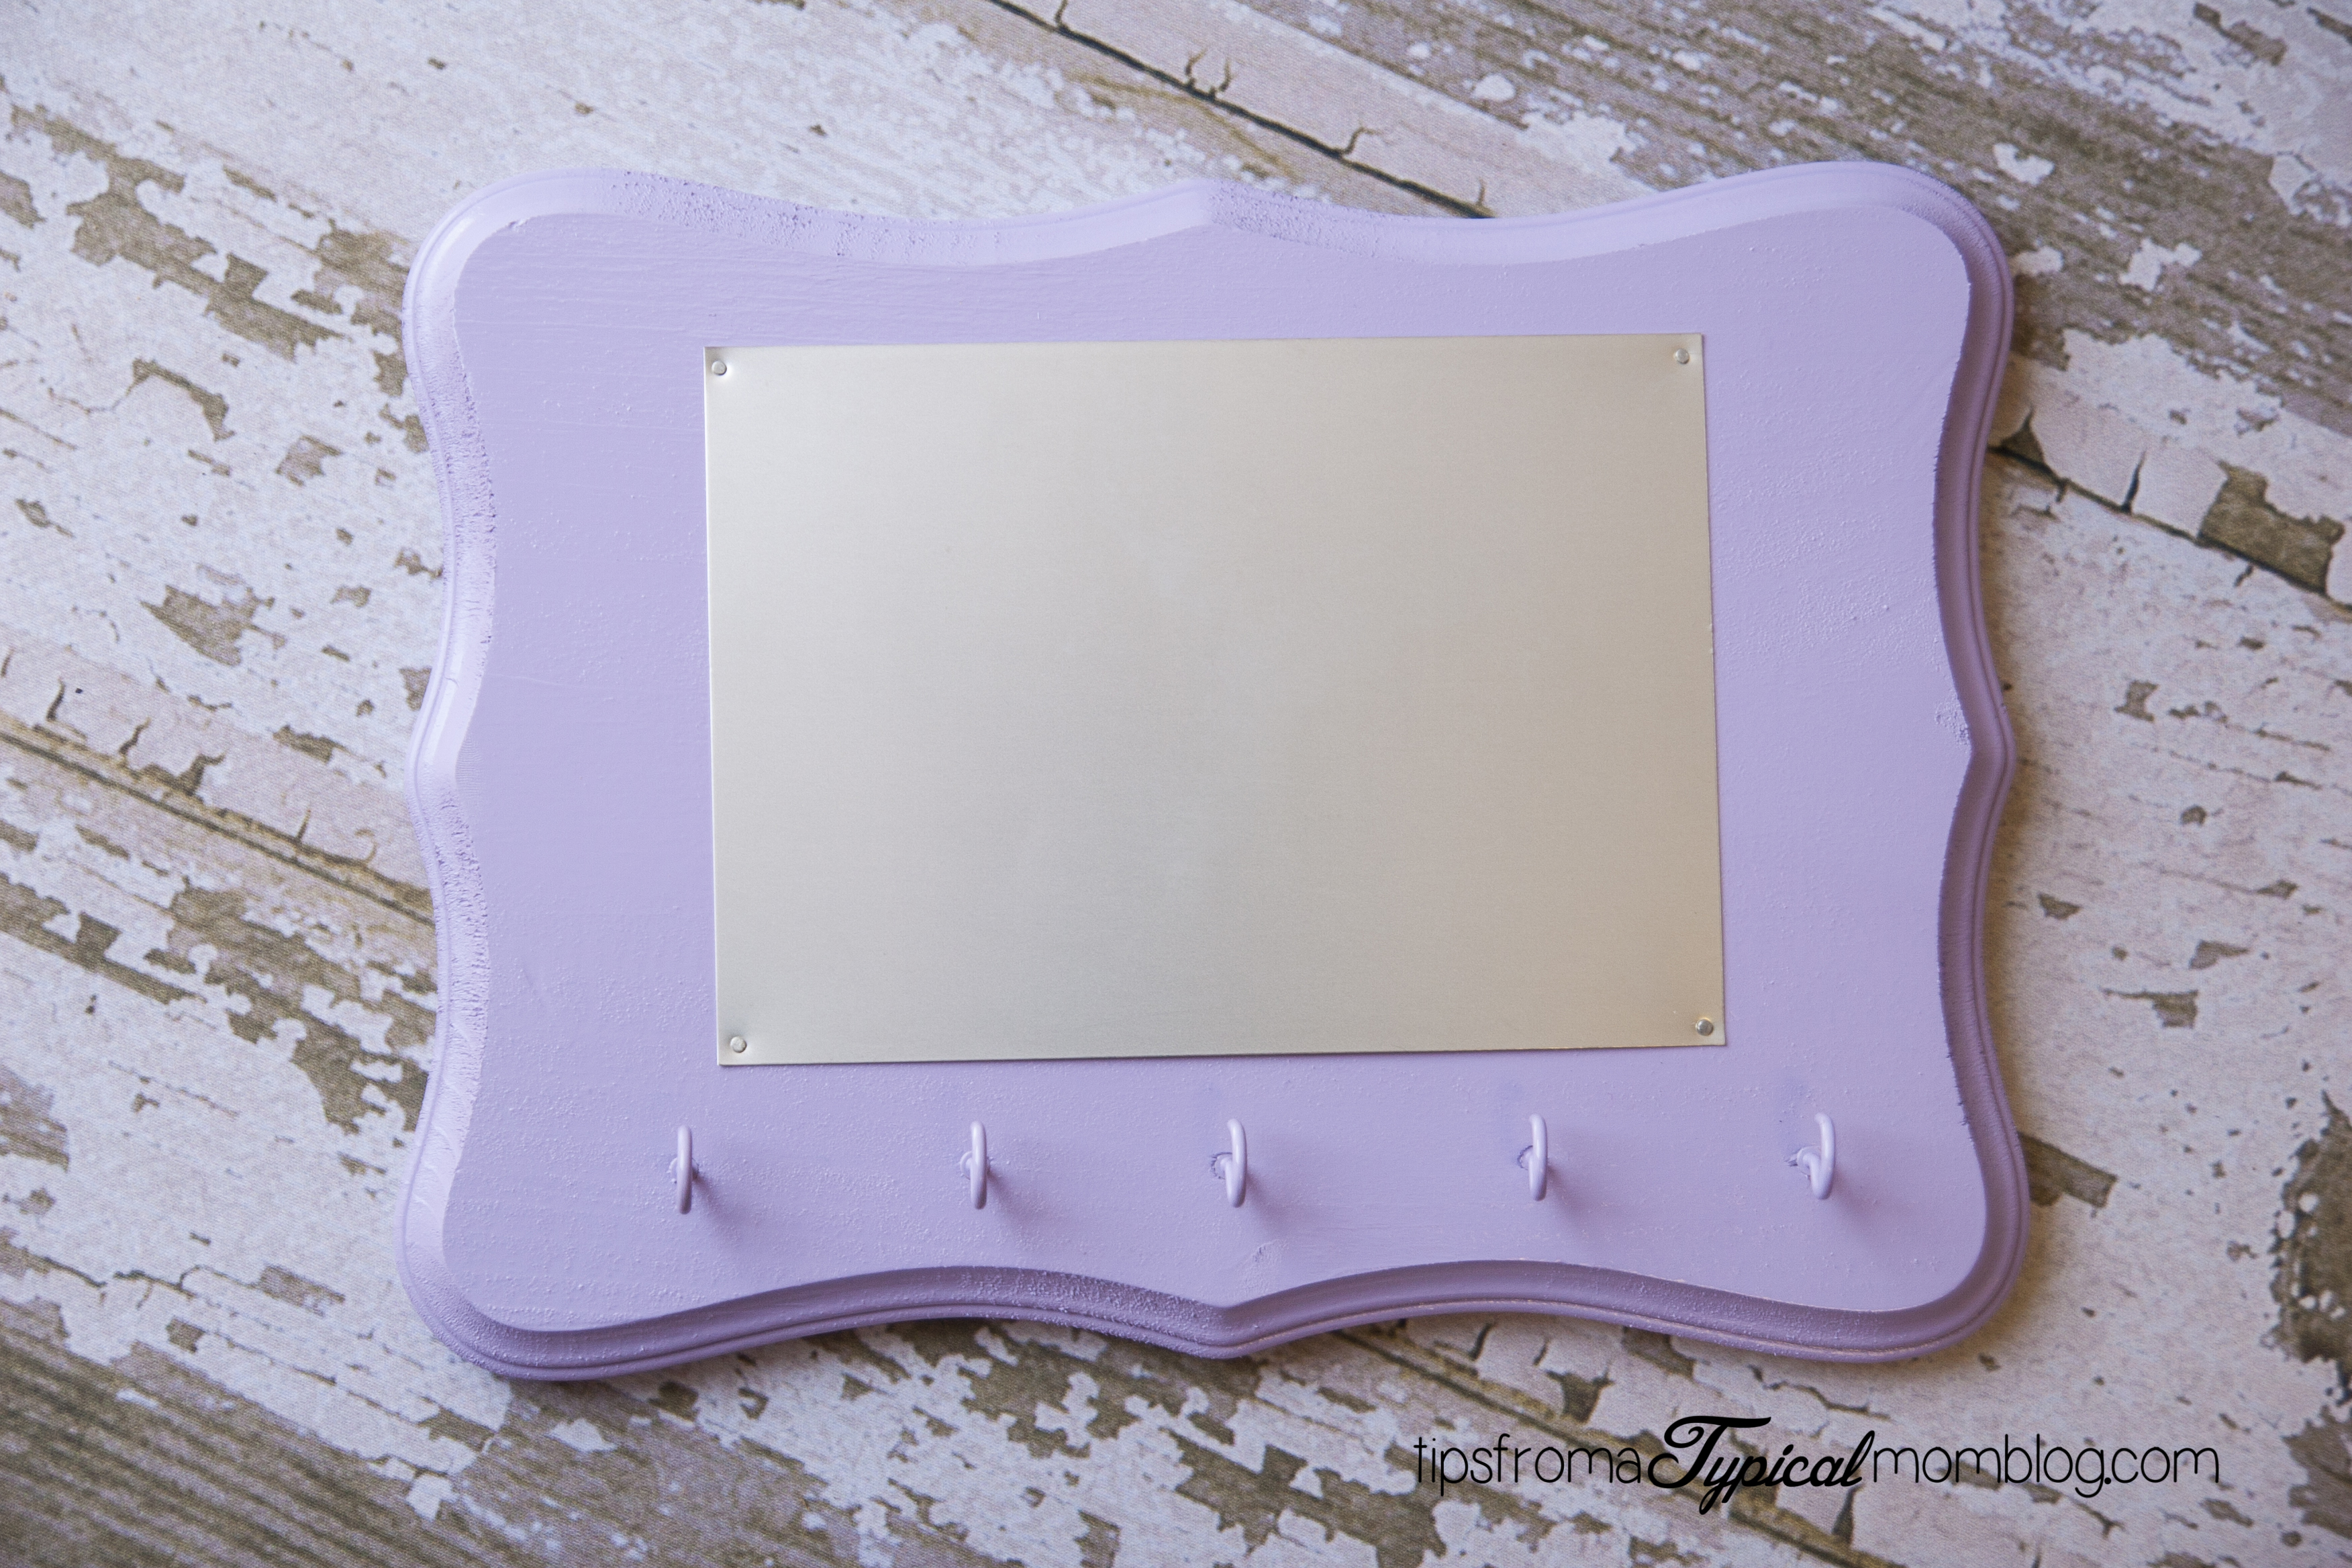
And I was done. It was so easy! I think it looks way more expensive than $10, don’t you? This would also be so cute in a kids room for displaying pictures of friends and hanging treasures on.
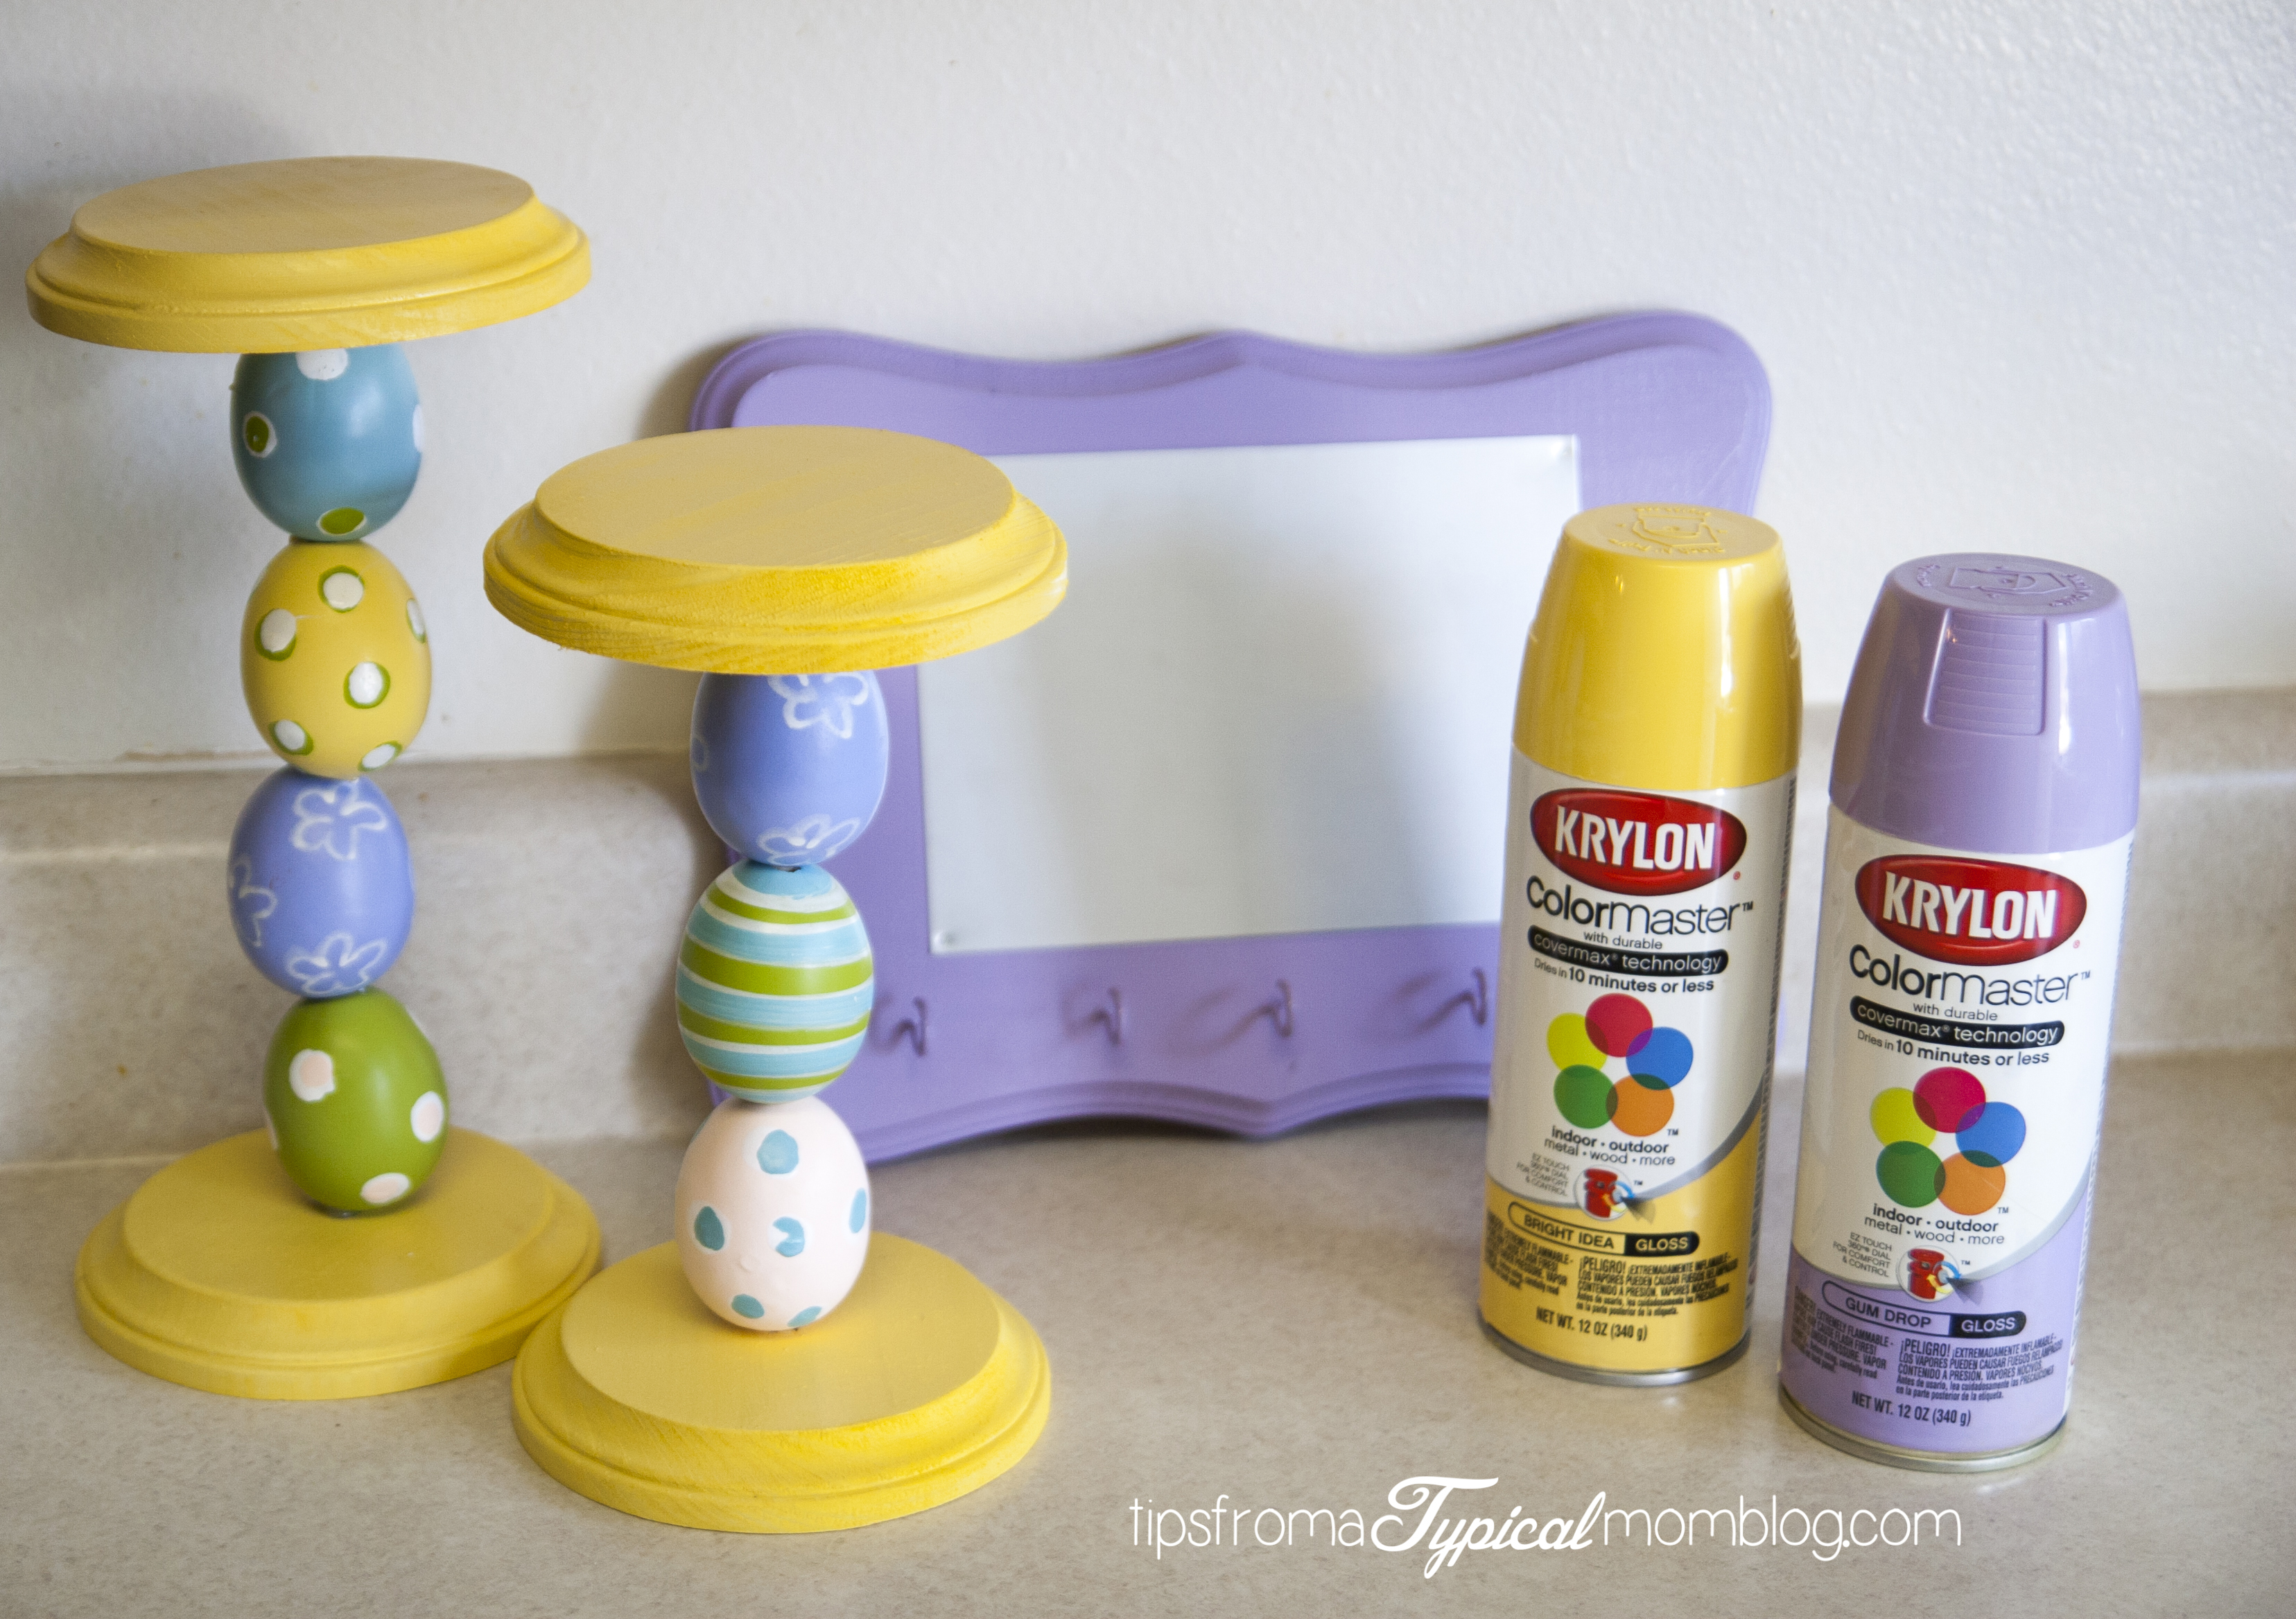
Here are the two spray paint colors I used for these projects. Gum Drop and Bright Idea. And a sneak peek at the next up coming project for Easter.
 Enjoy Creating and get your kids out there with you too, just in a well ventilated area!
Annette


[…] made so many other projects with this spray paint. Here is a magnetic key hanger, Easter Egg Candle Sticks and an Easter Banner (Coming […]